Still not found answer to your query, contact our support team at
Attractive loyal audience for your website is the most difficult, yet important thing to help your business succeed. To bring users attention and interest in your website, it is not always required to have big features and details. Sometimes even very small information may get their attention and increase their visits on your website thereby increasing average session duration and decreasing the bounce rate of your website.
This “Weather Plugin” brings such small yet very beneficial feature to display Real Time weather information on your website. With this plugin you can share the weather updates from Hourly duration to 7 days Weekly Forecast.
Watch demo here: https://demo.socialnetworking.solutions/sesweather
This tutorial will walk you through steps you need to follow to install the Weather Plugin on your website.
** This tutorial assumes that you are already logged in to the Admin Panel.
Installation of this plugin is very easy, but if you still need our expert to install this plugin for you, then you can purchase the service from here: https://www.socialnetworking.solutions/social-engine/socialenginesolutions-plugin-installation/
Video Tutorial: In addition to this written tutorial, we have also created a video tutorial which will help you to setup and configure this plugin easily.
Watch the video:
Steps to Install & Setup Weather Plugin
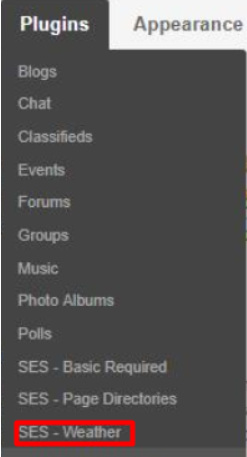
In the Main menu, click on the tab Manage and select “Packages & Plugins”.

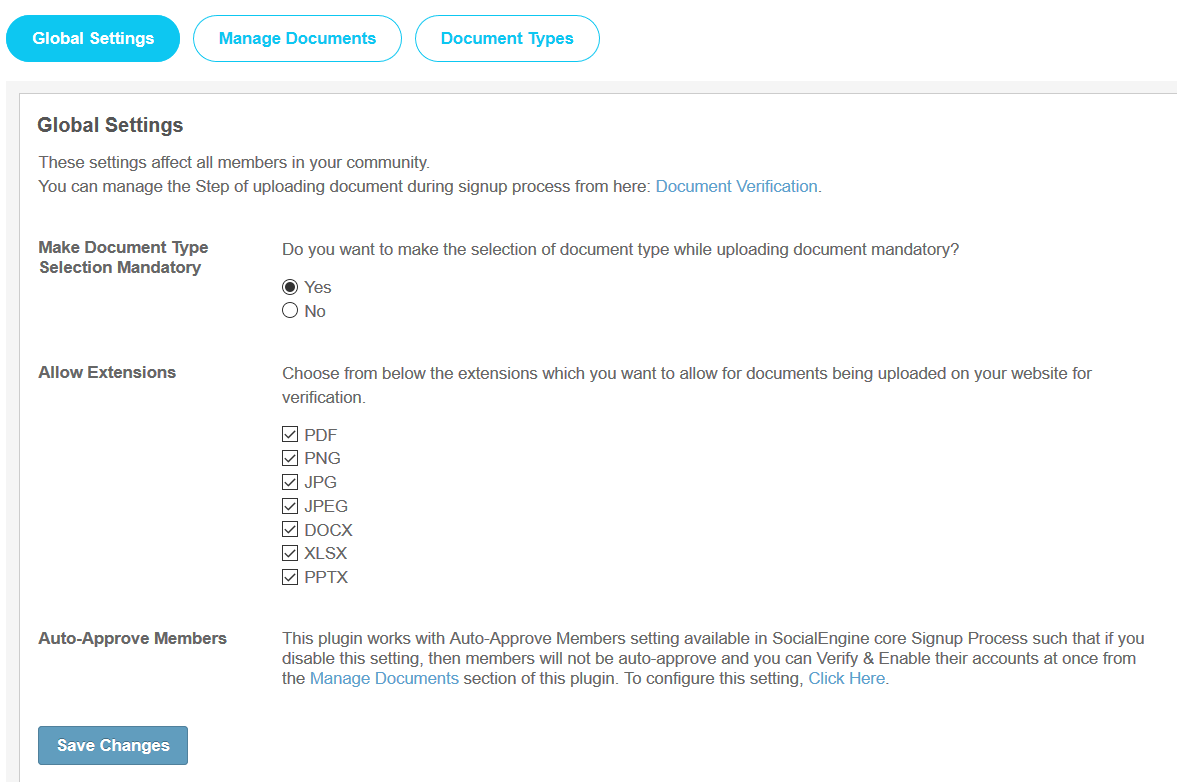
Activate this plugin from the Global Settings section of this plugin. These settings will affect all the members in your community.
From here you can add License key, API Key for this Plugin.
Also you are allowed to choose Unit for Temperature(Celsius/Fahrenheit).
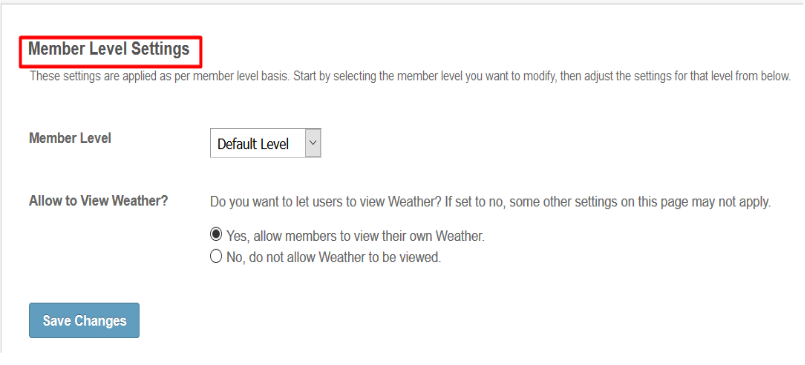
Under this section you can allow any member level to view weather on their website. So if you disable this setting, then no any other setting will be applicable.
This page allows you to have direct access to the widgetized page at the Layout Editor and User page at the User side of this Plugin. Simply click on their links and you will get redirected to the respective pages.

Layout Editor is the only place for our SES Products where you can place various widgets for your pages and configure those widgets according to your requirement as well on your website.
But here for this plugin you are provided with the widgets categorized as “SES - Weather - WIDGET_NAME” which you can place on any page of your choice to make them more appealing and stylish.
There is no restriction for placement of these widgets on any specific page.

Great! You have completed the installation and setup of this plugin now and you are able to view weather updates for your current location and also search for any specific location too.
Installation of this plugin is very easy, but if you still need our expert to install this plugin for you, then you can purchase the service from here: https://www.socialnetworking.solutions/social-engine/socialenginesolutions-plugin-installation/
We provide extremely cost-effective development, designing, customization, hosting and marketing without compromising on quality. We have strong domain experience in SocialEngine, Zend Framework, Mobile Apps, Web designing, E-Commerce, Application development and Product R&D – Making us ideally suited for outsourcing your IT needs!