Still not found answer to your query, contact our support team at
Web & Mobile Browser Push Notifications are clickable messages in browser that come from a website. These are simply received by your subscriber on their desktops, mobiles or any other device even when they are not actually viewing your website. These notifications are similar to the mobile apps’ push notifications and support all major browsers in different devices.
Please read more about this Plugin here: Web & Mobile Browser Push Notifications Plugin
Watch demo here: http://demo.socialnetworking.solutions/
This tutorial will walk you through the steps you need to follow to install the Web & Mobile Browser Push Notifications on your website.
** This tutorial assumes that you are already logged in to the Admin Panel.
Installation and Setup of this plugin is very easy, but if you still need our expert to install this plugin for you, then you can purchase the service from here: https://www.socialnetworking.solutions/social-engine/socialenginesolutions-plugin-installation/
Video Tutorial: With the written tutorial, we have created a video which will help you to setup and configure this plugin easily. Watch the video below:
In the Main menu, click on the tab Manage and select “Packages & Plugins”.
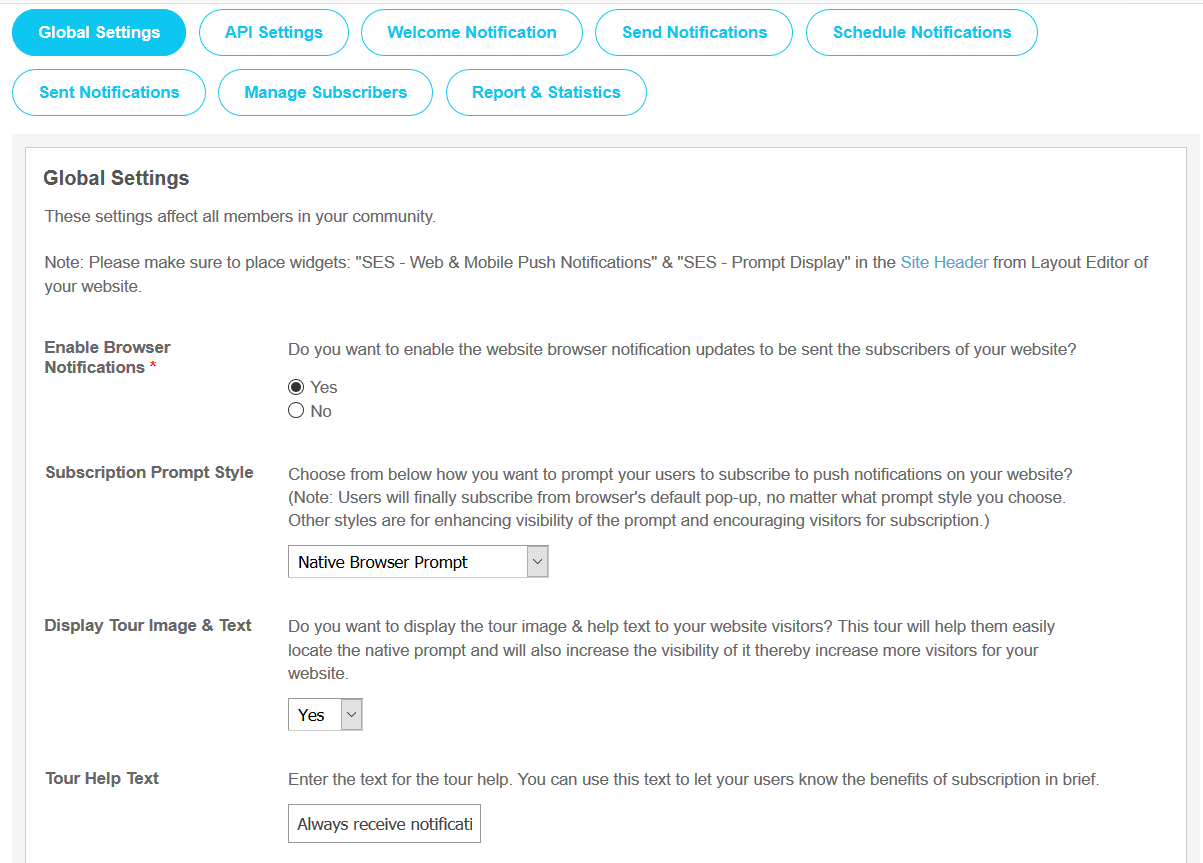
From here, you can configure various settings for this Plugin such as enable / disable the browser notifications updates for the subscribers, can select various Subscription Prompt Styles such as Native Browser Prompt, Bell Prompt, Basic Popup Prompt and Custom HTML Popup Prompt and the settings related to different prompt style as Browser Prompt Visibility, Prompt Image, Display Tour Image & Text, Tour Help Text etc.
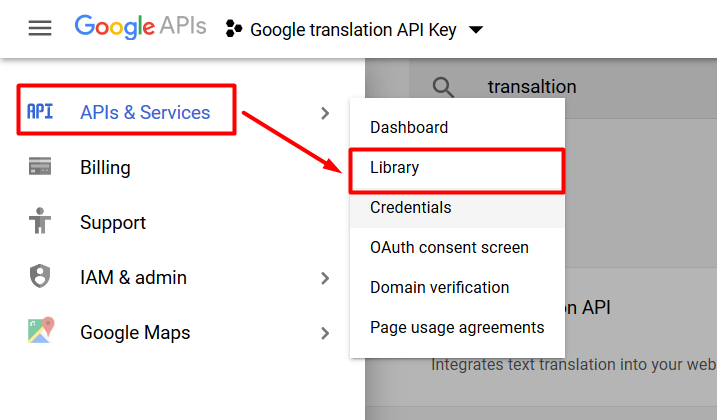
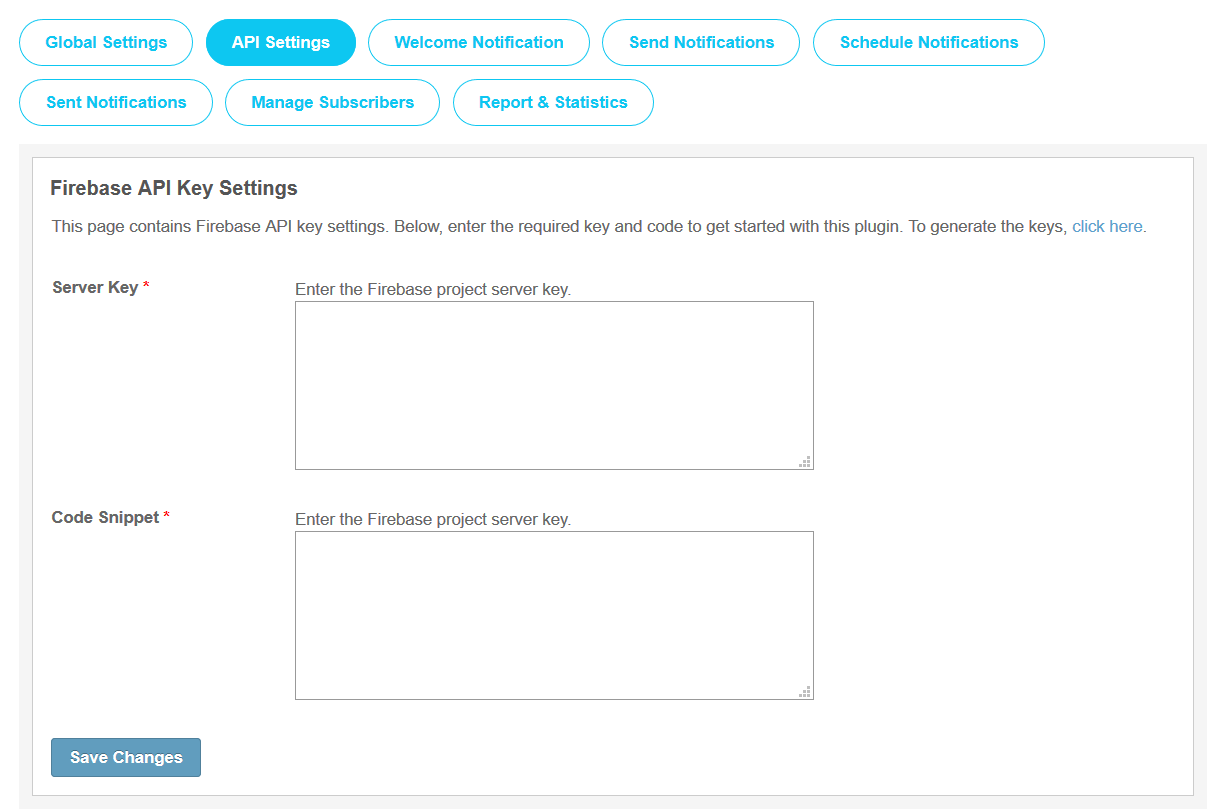
You can generate the API Keys for getting the Push Notifications on the website and after generating the API Keys, you have to put those keys in this section and click on the “Save Changes” button.
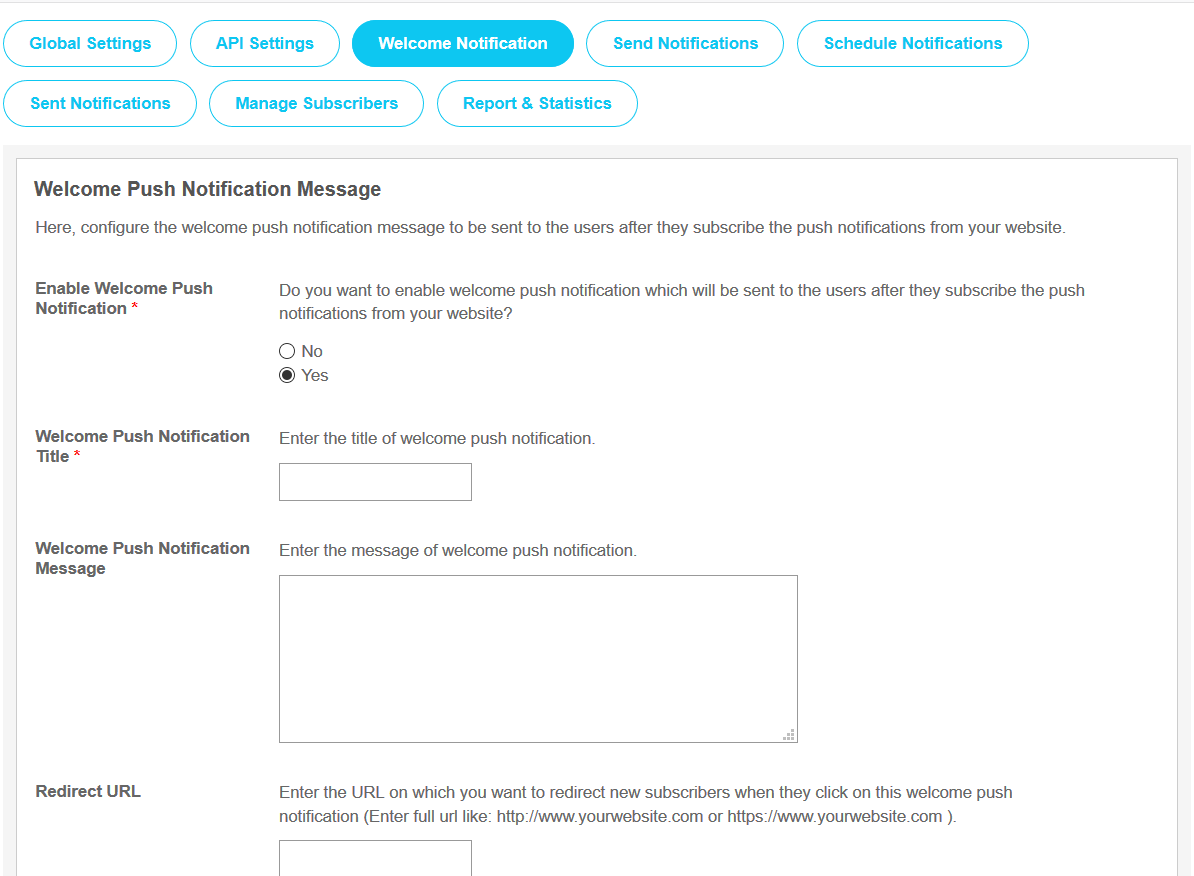
From this section, you can configure the welcome push notifications messages to be sent to the users who have subscribed to the push notifications from your website. You can give the Title, Message for this Push Notification, can add the URL link on which they are redirected on clicking and can upload the photo for this notification.
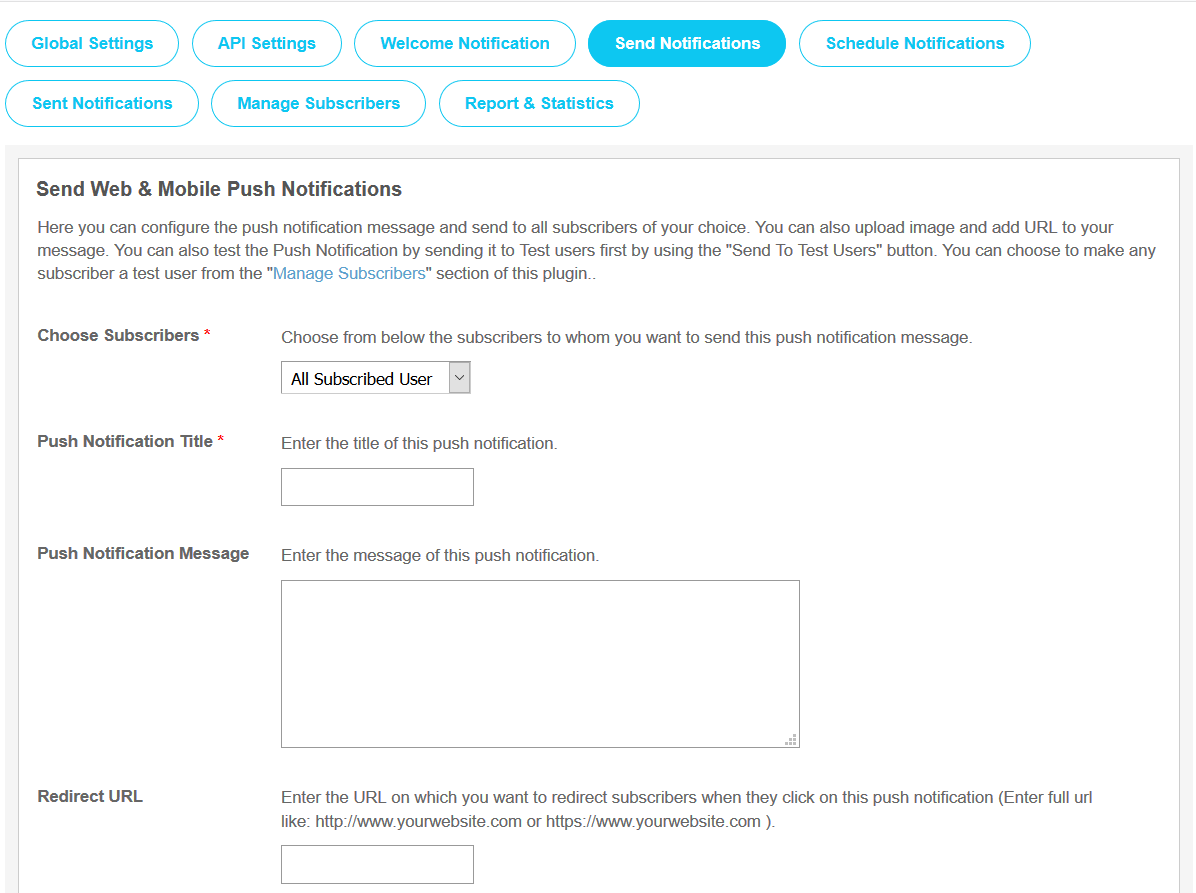
From here, you can configure the push notification message and send to all subscribers of your choice like notifications send to all Subscribed User, based on Member Level, Network and to a Particular User. You can also upload image and add URL to your message. You can also test the Push Notification by sending it to Test users first by using the "Send To Test Users" button. You can choose to make any subscriber a test user from the "Manage Subscribers" section of this plugin.
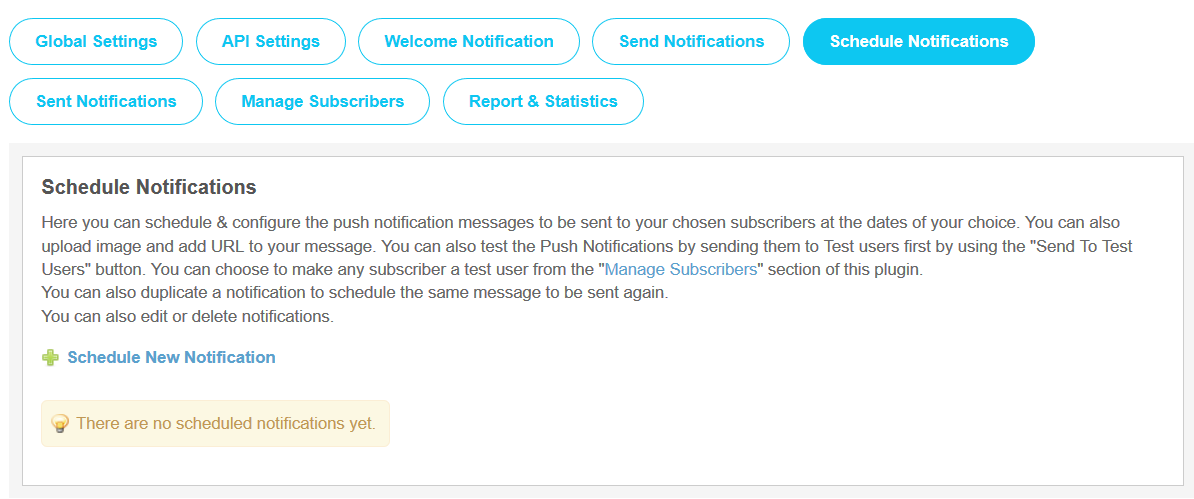
Here you can schedule & configure the push notification messages to be sent to your chosen subscribers at the dates of your choice. You can also upload image and add URL to your message. You can also test the Push Notifications by sending them to Test users first by using the "Send To Test Users" button. You can choose to make any subscriber a test user from the "Manage Subscribers" section of this plugin.
You can also duplicate a notification to schedule the same message to be sent again. You can also edit or delete notifications.
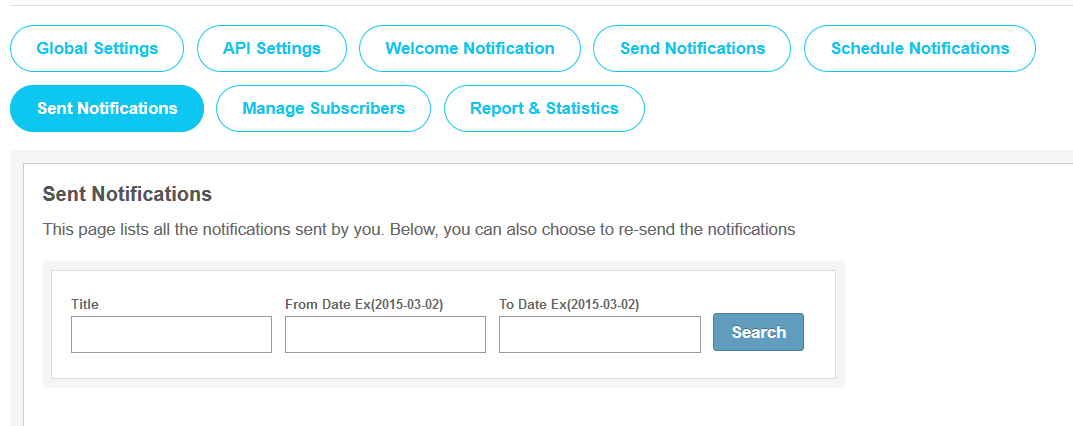
This section lists all the Notifications which you have sent to your users till now. From this section, you can Resend the same Notifications to your users and can also view the report for the specific notification.
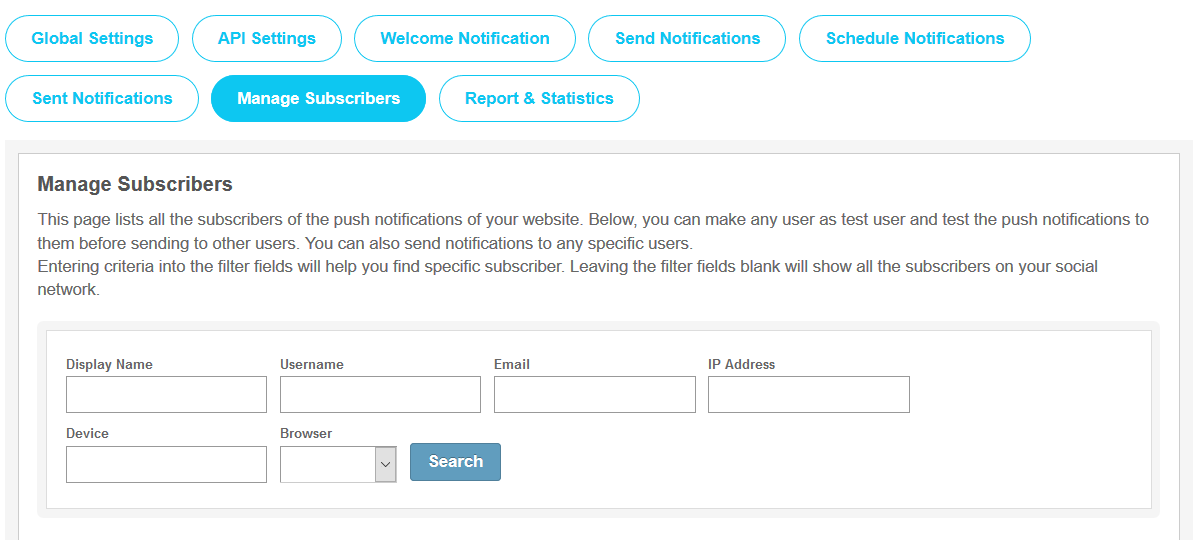
In this section, you can manage all the subscribers of your website. If you want to send the notification to the specific user then you can send them by clicking on “Send Notification” and can make any user as “Test User” to test the Notification. Here you can search any Subscriber by filling various fields in the search fields like Display Name, Username, Email, IP Address, Browser etc.
11. Report & Statistics
From this section, site owner can view statistics report for all the sent notifications such as Total Notifications Sent, Total Notifications Received, Total Notifications Clicked. You can also search report for any specific notification here by entering the Start Date & End Date in the search box.

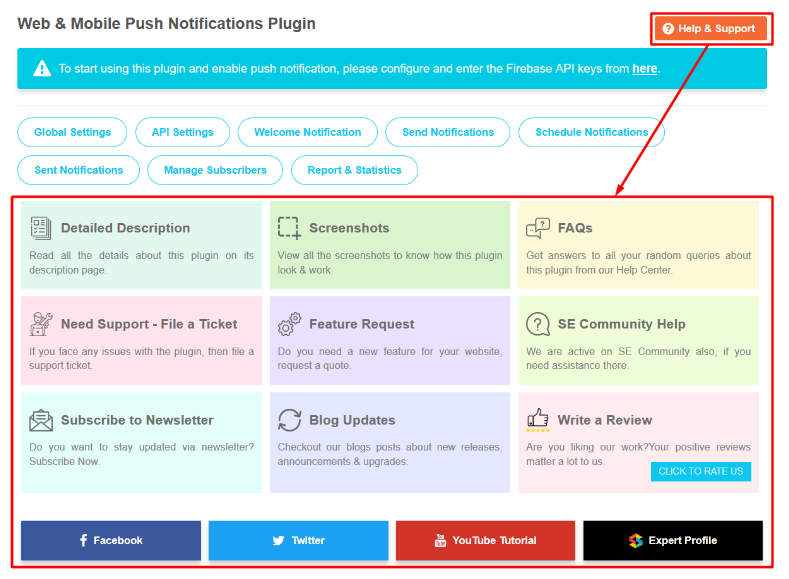
If you have any query or doubt about sending or creating the Push Notifications on website, then you can refer to this page.This page will help you out with all the Queries regarding Web & Mobile Push Notifications on your website such as Product Description, Screenshots, FAQs, Video etc..
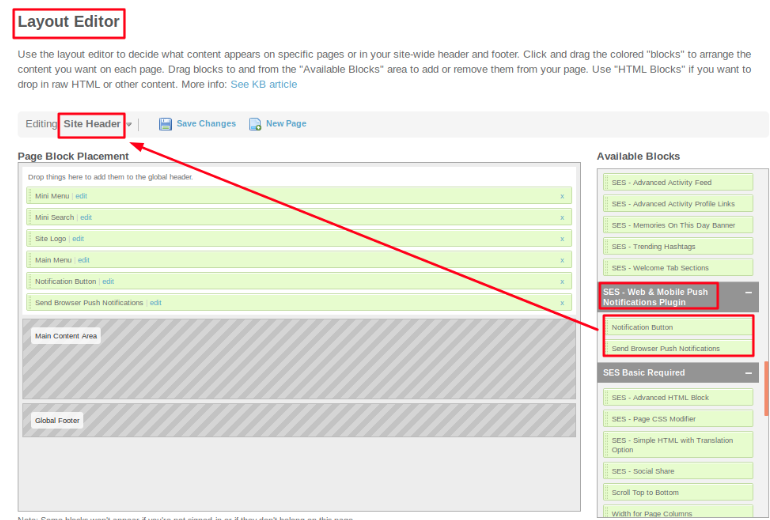
Layout Editor is the only place for our SES Products where you can place various widgets for your pages and configure those widgets according to your requirement as well.
As this plugin contain only two widget because it work upon Push Notifications. So you have to place the widget “Notification Button” and “Send Browser Push Notifications” on the main “Site Header” page and after that click on the Save Changes button.
Great! You have completed the installation and setup of this plugin now and your users will be able to get the Push Notifications.
Installation of this plugin is very easy, but if you still need our expert to install this plugin for you, then you can purchase the service from here:
https://www.socialnetworking.solutions/social-engine/socialenginesolutions-plugin-installation/
View Demo Read Read Detailed Description Buy this Plugin Now Buy from SE Store