Still not found answer to your query, contact our support team at
Discussions & External Links Posting is one of the most important plugin for your website which makes your site more engaging by sharing of views on each other’s discussions. Also it will increase social awareness among site members. Discussion provides you an opportunity to create a virtual online community, connect, discuss, share ideas, and support each other.
By observing who is posting discussions on your website and the topics they post about, you’re able to have a better idea of who your target audience is as well as what they want. This allows you to serve them better. One other benefit with this plugin is that users will take the initiative to search discussions for their questions instead of contacting you, and users will respond to each other’s concerns themselves.
Please read more about this Plugin here:
https://www.socialnetworking.solutions/social-engine/discussions-external-links-posting-plugin/
Watch demo here: https://demo.socialnetworking.solutions/discussions
This tutorial will walk you through steps you need to follow to install the Discussions & External Links Posting Plugin on your website.
** This tutorial assumes that you are already logged in to the Admin Panel.
Installation and Setup of this plugin is very easy, but if you still need our expert to install this plugin for you, then you can purchase the service from here: https://www.socialnetworking.solutions/social-engine/socialenginesolutions-plugin-installation/
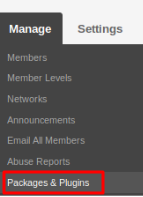
In the Main menu, click on the tab Manage and select “Packages & Plugins”.

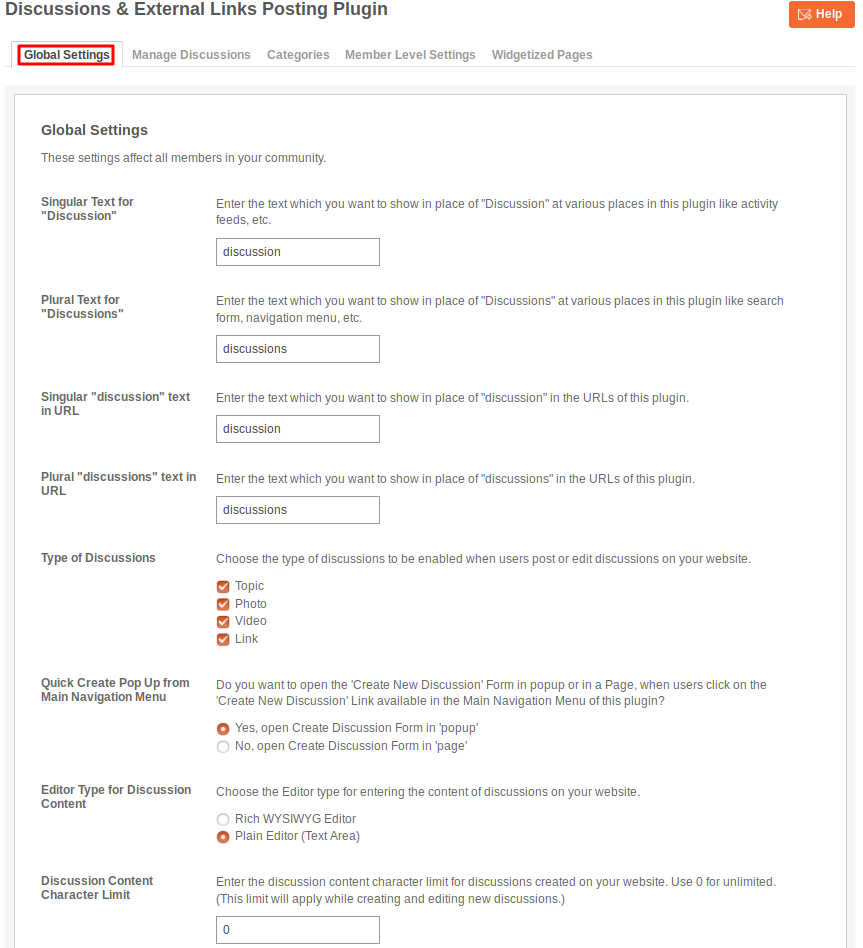
Activate this plugin from Global Settings section of this plugin. In this section, you can change the settings for various different fields like Singular Text for "Discussion", Plural Text for "Discussions", Type of Discussions, Quick Create Pop Up, Editor Type for Discussion Content, Allow Discussions for share, comment, favourite, enable/disable voting for discussions, etc..
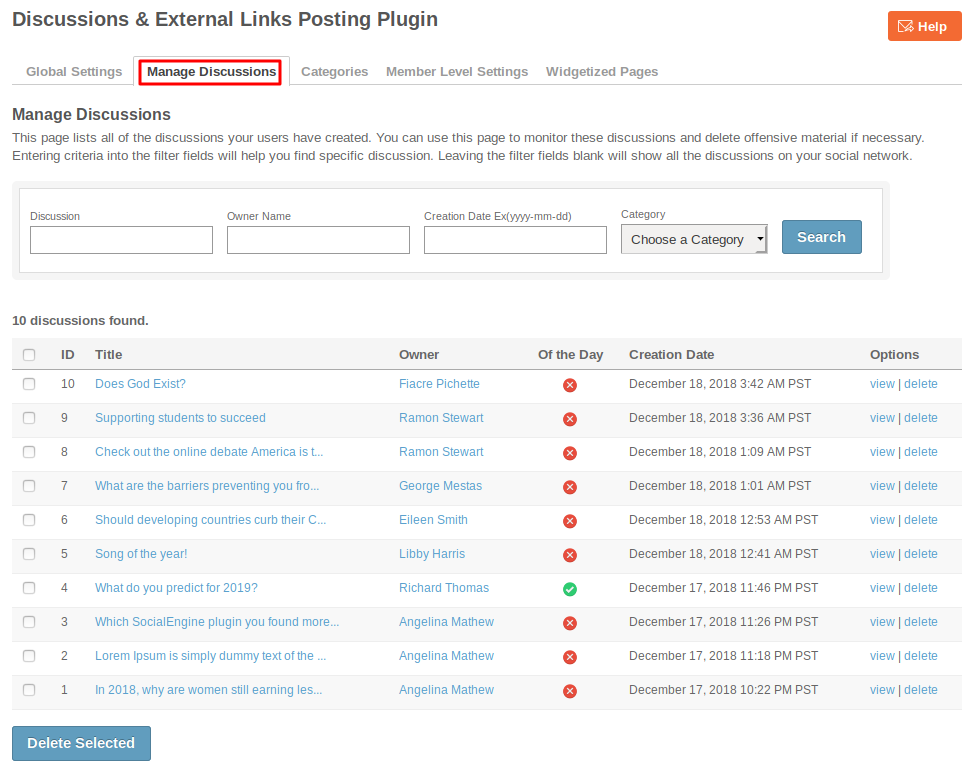
In this section, you can manage various discussions which were created by your users. You can delete the discussions which you find incorrect/offensive. Here you can search any discussion by filling various fields like discussion title, owners name, creation date and category.
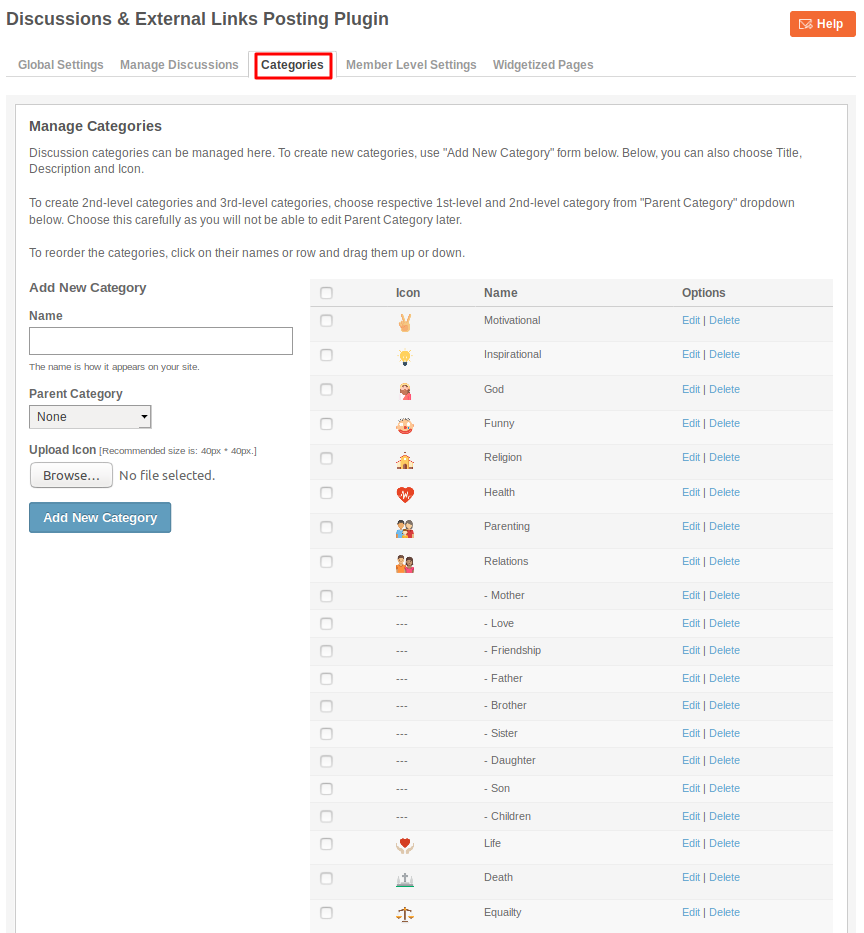
From this section, you can modify or delete the existing categories and can add the new categories by filling up the form given at this page. 2nd & 3rd Level Categories are also supported.
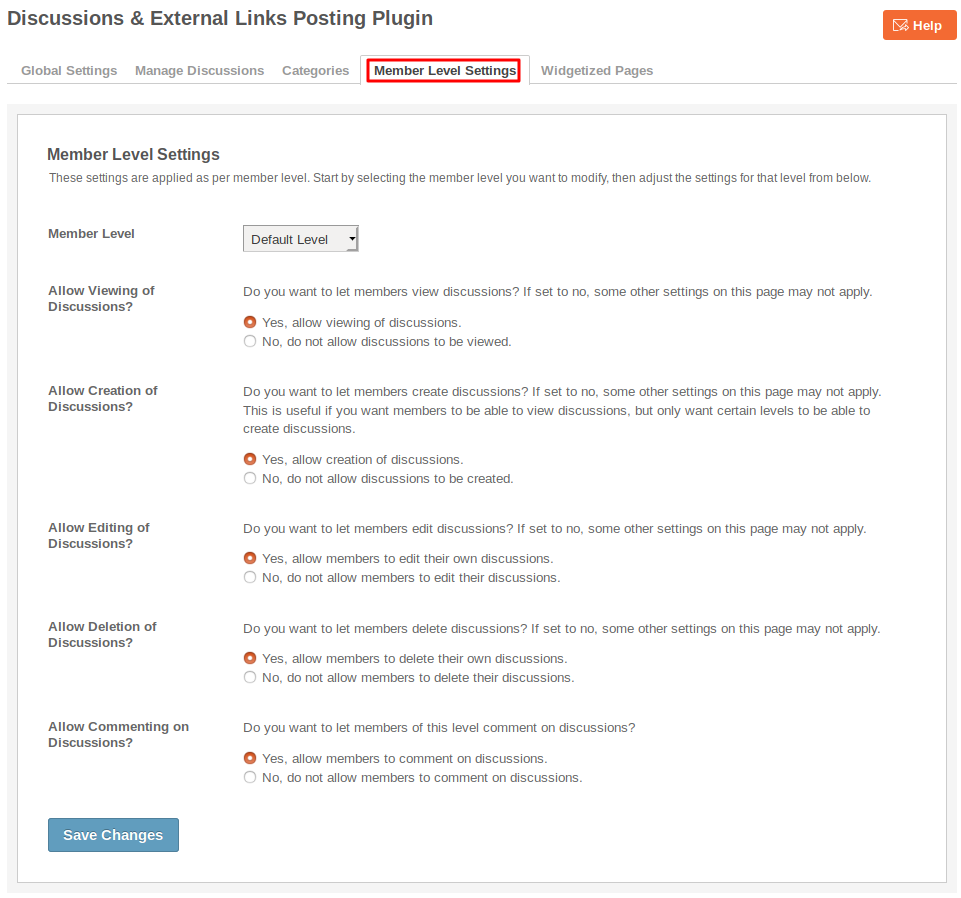
These are the settings which are based on the different member levels configured by the admin of the site. These settings allow you to view, create, edit, delete and comment on the Discussions.
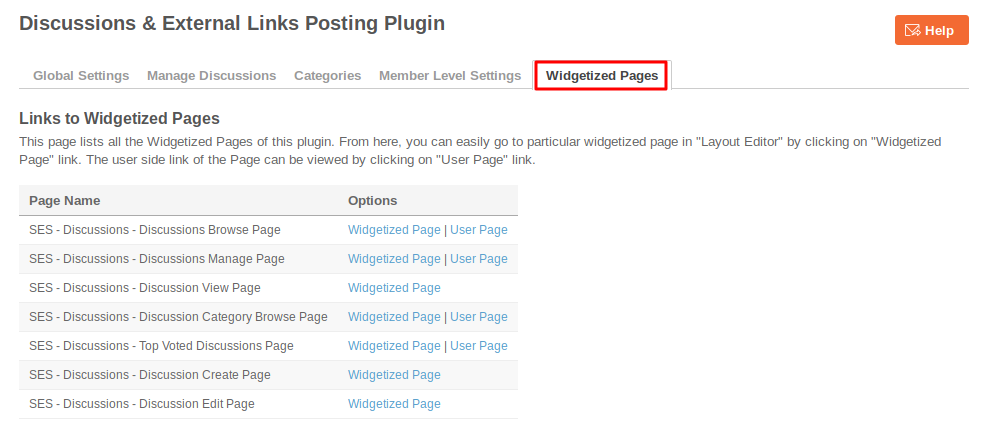
This page lists all the required Widgetized Pages which are present under Layout Editor for this plugin.
With the help of this section you can go to either Widgetized page or User page directly by clicking on their links respectively.
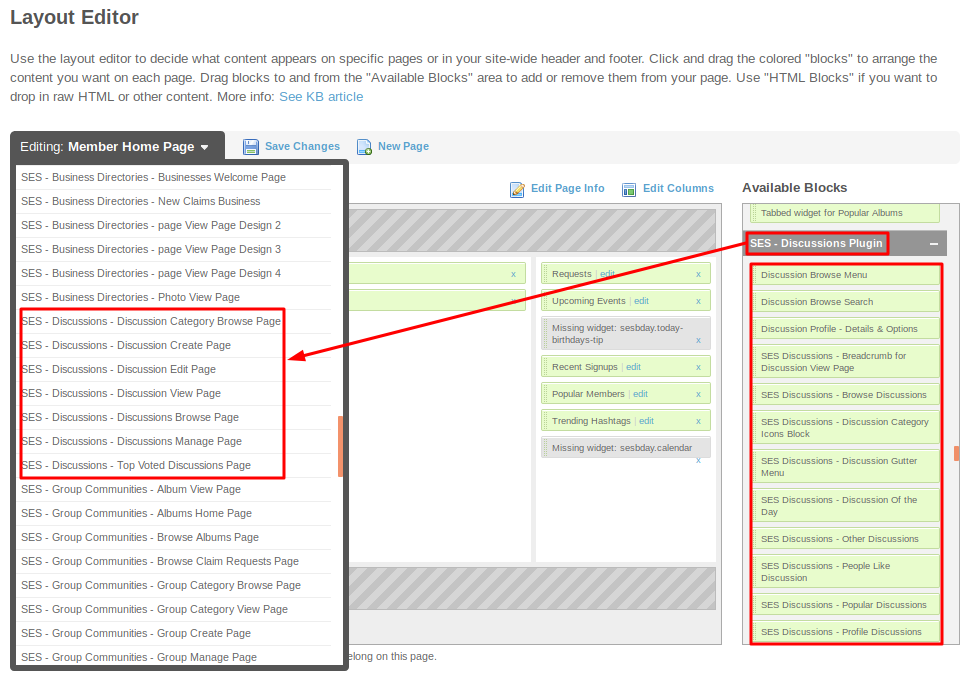
Layout Editor is the only place for our SES Products where you can place various widgets for your pages and configure those widgets according to your requirement as well.
There are certain pages for this plugin which are categorized as “SES - Discussions - PAGE_NAME” in which you can place any widget that are also categorized as “SES Discusssions - WIDGET_NAME” format.
Great! You have completed the installation and setup of this plugin and now you are able to create discussions of your choice.
Installation of this plugin is very easy, but if you still need our expert to install this plugin for you, then you can purchase the service from here: https://www.socialnetworking.solutions/social-engine/socialenginesolutions-plugin-installation/
We provide extremely cost-effective development, designing, customization, hosting and marketing without compromising on quality. We have strong domain experience in SocialEngine, Zend Framework, Mobile Apps, Web designing, E-Commerce, Application development and Product R&D – Making us ideally suited for outsourcing your IT needs!
