Still not found answer to your query, contact our support team at
Bulk Importing, Creating New / Dummy Users Plugin is totally a core Administration tool with the help of which site Admin can easily create numbers of users / Dummy users and can import users through CSV file to his site in just few minutes. A Powerful tool which makes your site more engaging with these users which ultimately increase the gathering and trust on your website. Obviously a site full of users provides a security to the new users and emphasis them to create their accounts and explore it more.
Please read more about this Plugin here:
Watch demo here: https://admindemo.socialnetworking.solutions/admin
This tutorial will walk you through steps you need to follow to install the Bulk Importing, Creating New / Dummy Users Plugin on your website.
** This tutorial assumes that you are already logged in to the Admin Panel.
Installation and Setup of this plugin is very easy, but if you still need our expert to install this plugin for you, then you can purchase the service from here: https://www.socialnetworking.solutions/social-engine/socialenginesolutions-plugin-installation/
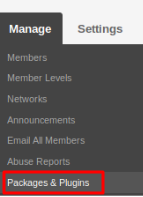
In the Main menu, click on the tab Manage and select “Packages & Plugins”.
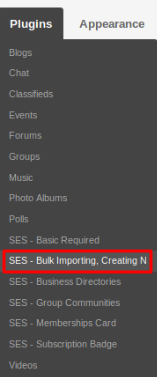
Activate this plugin from Global Settings section of this plugin.
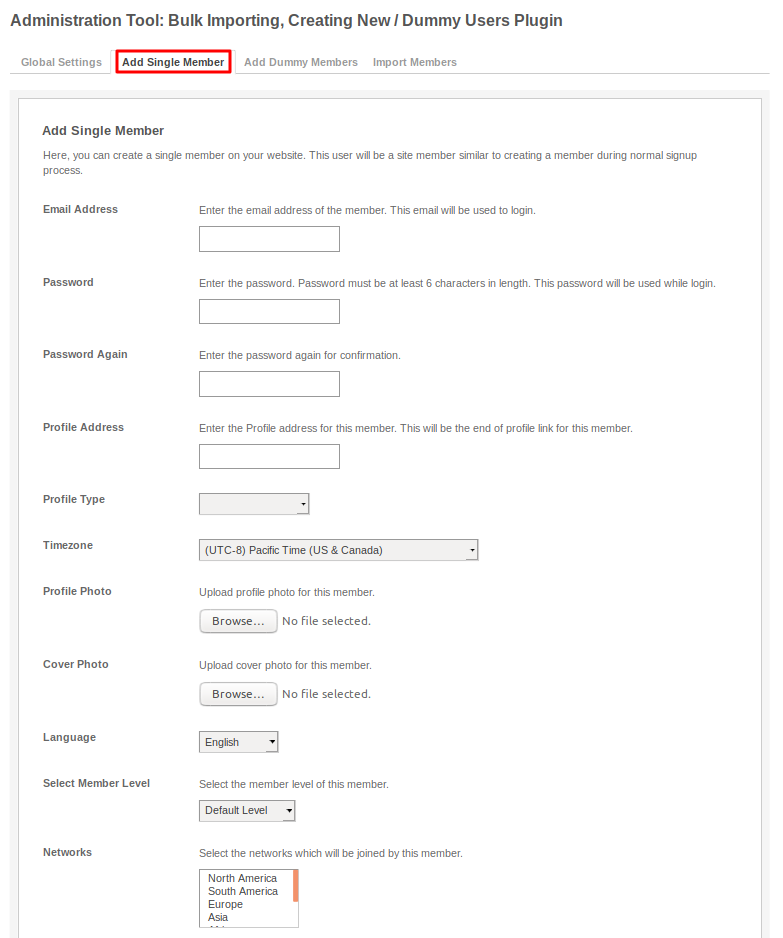
Using this section, you can add single member from the admin panel only. You have to fill the details same as which are required for signing-up of any member and then new member will be created and can be seen from the Member Browse page.
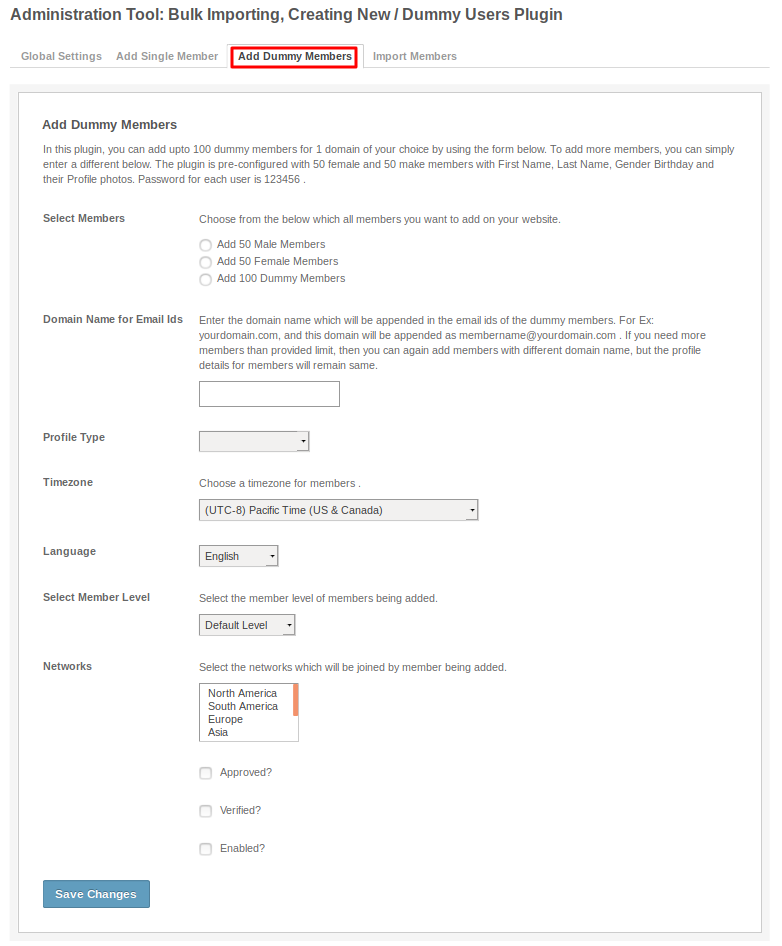
In this section, you can create 50 to 100 members at a time by just filling the domain name. You can choose the members of your choice like male or female and also can add any 100 members. If you want to add more members then you have to follow this step again. You can browse the dummy members from the Member Browse page and if you want to login to any of these accounts then you have to go to the Manage Members in Admin Panel, there you see an option for login and by clicking on login, you are logged-in to that members account.
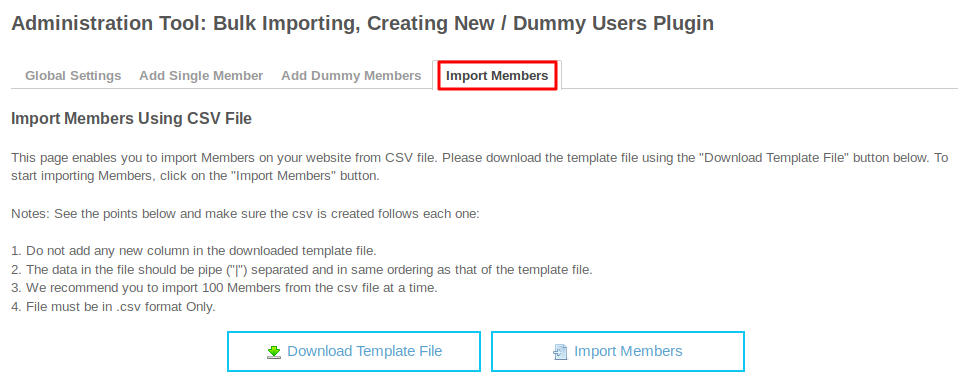
From this section, you can import the members of your choice. For importing the members, you have to download the template and according to the format, fill the details in that and then import the members. You can see the members at Member Browse page and can access them from Manage Members.
Great! You have completed the installation and setup of this plugin and now you are able to import the users of your choice.
Installation of this plugin is very easy, but if you still need our expert to install this plugin for you, then you can purchase the service from here: https://www.socialnetworking.solutions/social-engine/socialenginesolutions-plugin-installation/
We provide extremely cost-effective development, designing, customization, hosting and marketing without compromising on quality. We have strong domain experience in SocialEngine, Zend Framework, Mobile Apps, Web designing, E-Commerce, Application development and Product R&D – Making us ideally suited for outsourcing your IT needs!