Still not found answer to your query, contact our support team at
We put a lot of time and effort into creating social proof on all our accounts including Groups, because it’s a quick signal to other users that our business is important and established enough to earn it. Those verification checkmarks do exactly the same thing as people notice badges first even before seeing the contents of a page, having it gives an advantage of a great first impression.
Group Verification by Members Extension enables your Groups to get verified by members on your site. A badge is added to the Groups by its Visitors and Users which will maximize the trust by its users and eliminates fake users and even increases the credibility also. Verified Group badge is being provided and is useful for the adding trust and help to protect brand’s equity. Members can also comment while providing the verifications to the Groups.
Please read more about this Plugin here:
https://www.socialnetworking.solutions/social-engine/group-verification-by-members-extension/
Watch demo here: https://demo.socialnetworking.solutions/auto-erotica-usa
This tutorial will walk you through steps you need to follow to install the Group Verification by Other Members Plugin on your website.
** This tutorial assumes that you are already logged in to the Admin Panel.
Installation of this plugin is very easy, but if you still need our expert to install this plugin for you, then you can purchase the service from here: https://www.socialnetworking.solutions/social-engine/socialenginesolutions-plugin-installation/
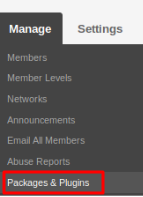
In the Main menu, click on the tab Manage and select “Packages & Plugins”.
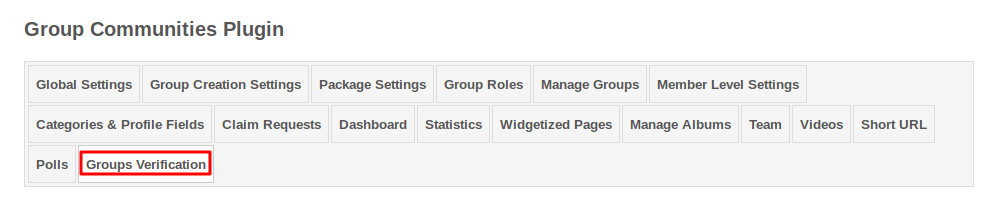
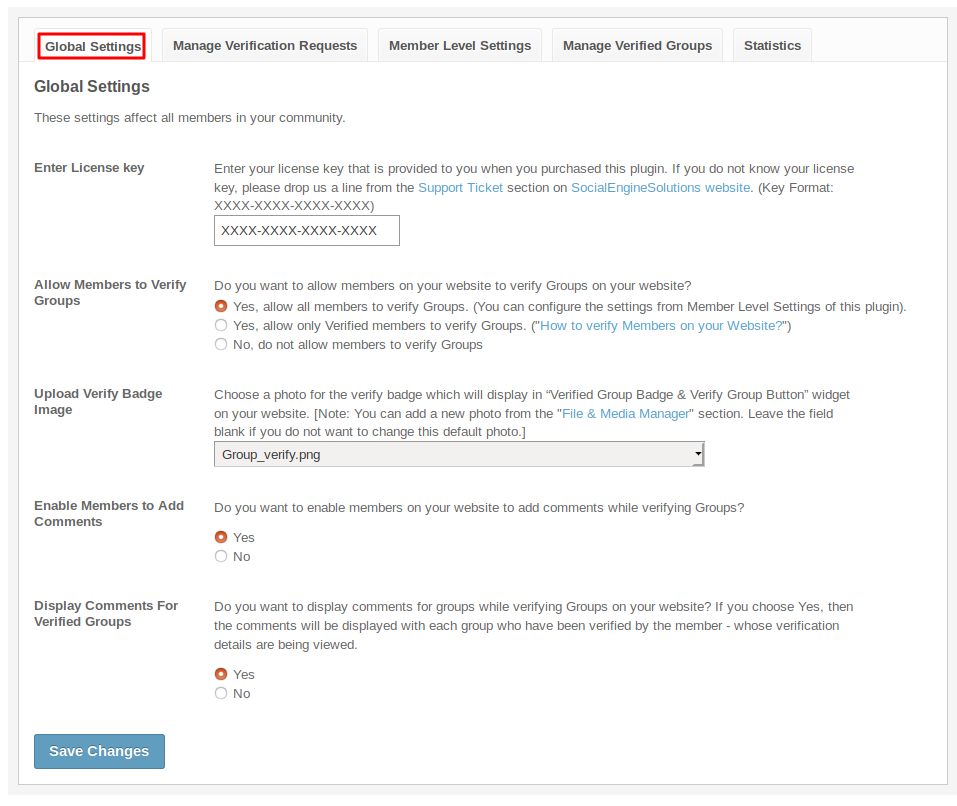
Activate the plugin from Global Settings section of this plugin.
These Settings affect all the members in your community by allowing Members to Verify Groups on your website. Also they can edit and view comments of Verifications for Groups.
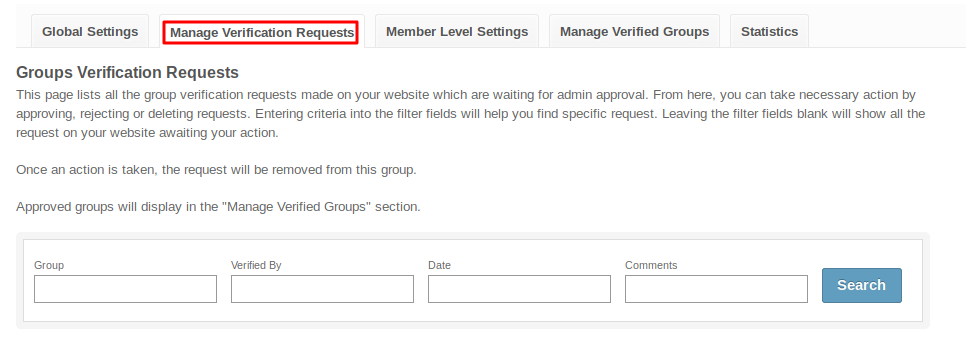
This section lists all the group verification requests made on your website which are waiting for admin approval. You can take necessary action by approving, rejecting or deleting requests. Entering criteria into the filter fields will help you find specific request.
Once an action is taken, the request will be removed from this page.
These settings are applied on each member level separately. Start by selecting the member level you want to modify. You can adjust the settings for that level too.
With the help of these Settings you can easily provide certain privileges to one member level than others i.e; functionalities provided to one member level are not provided for other one. You can configure various settings to verify any group or enable other settings for the group to get verified by the members of your website.

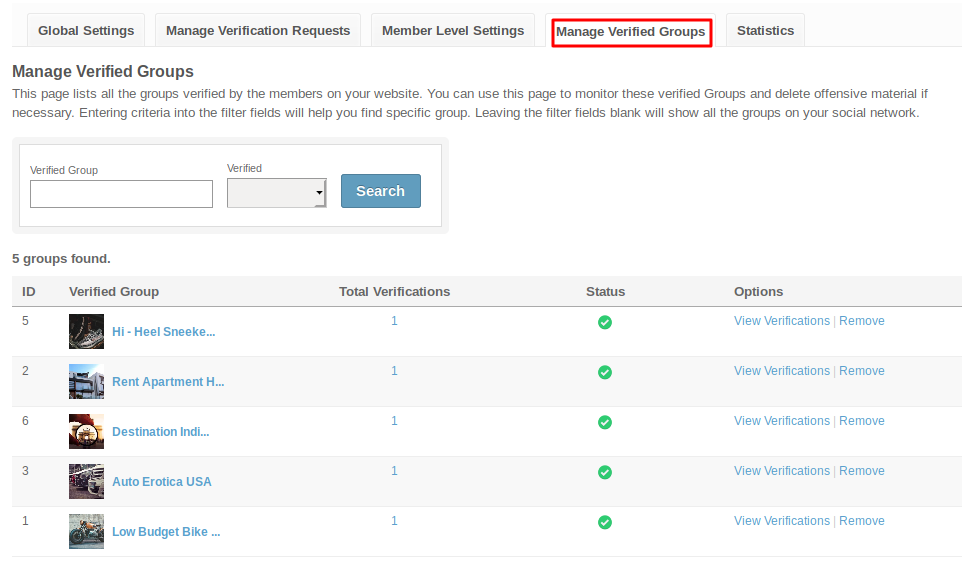
This section lists all the groups verified by the members on your website. This page helps you to monitor these groups and delete offensive material if necessary. Also you can search verified group from the list by using filter.
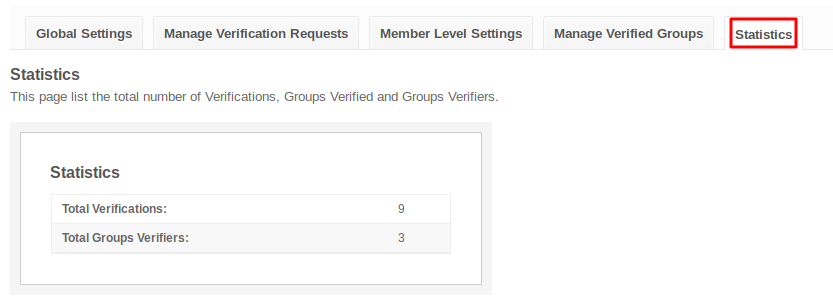
This section will display the total number of Verifications and Total number of Group Verifiers.
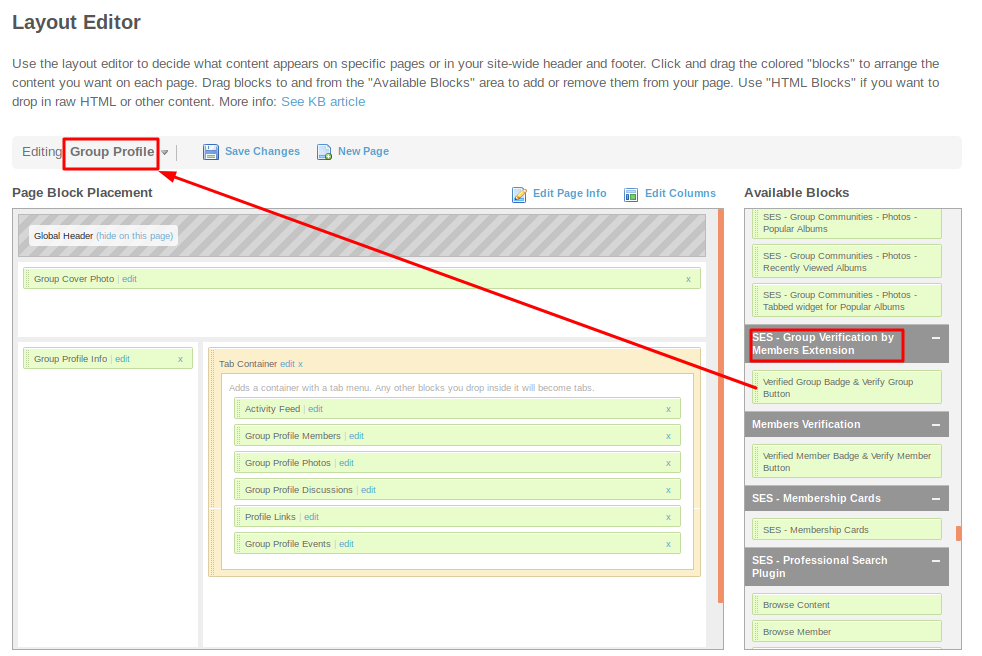
After the Installation of this plugin don’t forget to place “Verified Group Badge & Verify Group Button” Widget in the Layout Editor on Group Profile Page.
This widget will provide you the Verification button with the help of which you can verify Groups from Group Profile Page. You can also configure the name for this widget which will display on the Group’s Profile page.
Great! You have completed the installation and setup of this plugin now and you are able to verify groups and get your groups verified by the members on your website.
Installation of this plugin is very easy, but if you still need our expert to install this plugin for you, then you can purchase the service from here: https://www.socialnetworking.solutions/social-engine/socialenginesolutions-plugin-installation/
We provide extremely cost-effective development, designing, customization, hosting and marketing without compromising on quality. We have strong domain experience in SocialEngine, Zend Framework, Mobile Apps, Web designing, E-Commerce, Application development and Product R&D – Making us ideally suited for outsourcing your IT needs!