Still not found answer to your query, contact our support team at
1,182 views
Please read more about this Plugin here:
https://www.socialnetworking.solutions/ultimate-menu-plugin/
Watch demo here: https://socialmedia.socialnetworking.solutions/ and login with any of the demo user.
This tutorial will walk you through steps you need to follow to install the Ultimate Menu Plugin on your website.
** This tutorial assumes that you are already logged in to the Admin Panel.
Installation and Setup of this plugin is very easy, but if you still need our expert to install this plugin for you, then you can purchase the service from here: https://www.socialnetworking.solutions/social-engine/socialenginesolutions-plugin-installation/
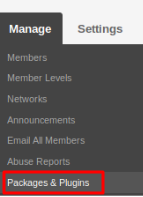
In the Main menu, click on the tab Manage and select “Packages & Plugins”.
2. Please read the tutorial on installing plugins in SES here: http://help.socialnetworking.solutions/faq/51/how-to-purchase-and-install-ses-product
3. After the successful installation of plugin as in Step 2 above, go to “Plugins” dropdown in the Main menu and select “SES - Ultimate Menu Plugin”.
.png)
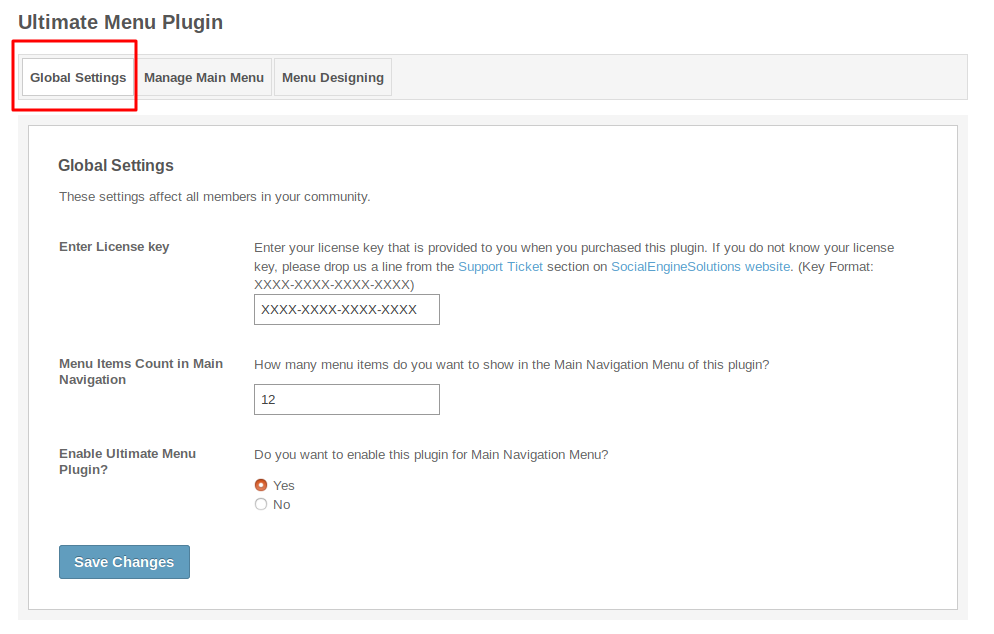
Activate the plugin from Global Settings section of this plugin. In this section, you can manage the “Menu Items Count in Main Navigation” which is used to display the number of menu items you want to show in the main navigation menu and also you can enable/disable this plugin from here.
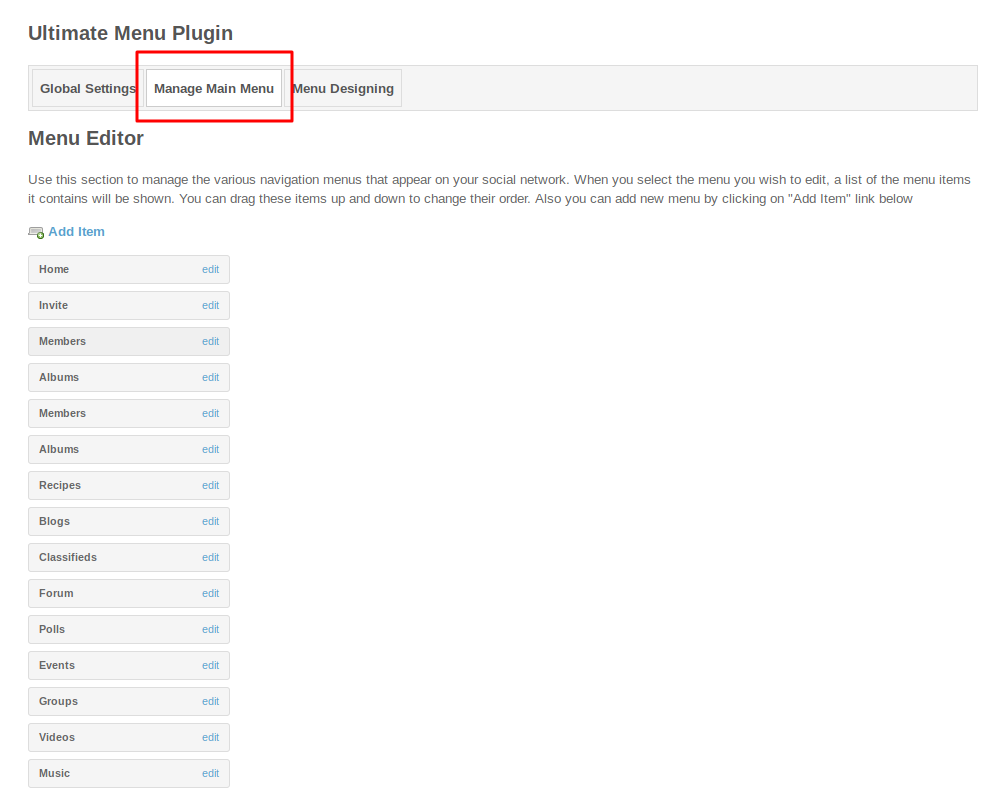
This section lists all the Plugins installed on your website. Also when you install any new Plugin, then it will get added to this list after syncing from the Admin Panel. From here, you can also make any preexisting menu as custom or can create new custom menu by clicking on “Add Item” link on this page. For each menu, you can configure various settings such as label, icons, choosing the tabs for opening in new window, enable menu item, can change the view privacy based on member level settings, choose different designs type and respective designs for them. You can add as many menu items as you want.
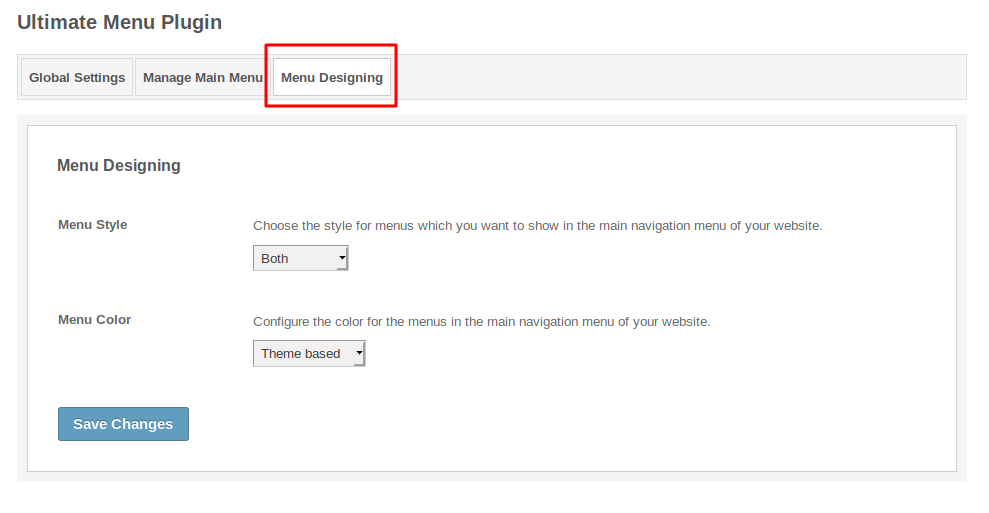
In this section, you can change “Menu Style” and “Menu Color” according to your need. When you choose the option “Menu Style” then you get three options as: Label Only, Icon Only & Both and from these options you can choose anyone. When you choose the option “Menu Color” then there comes two options as: Theme Based or Custom, further when you choose ‘Custom’ then you open up with many options to select the color like Menu Background Color, Menu hover color, Menu Font Color, etc..
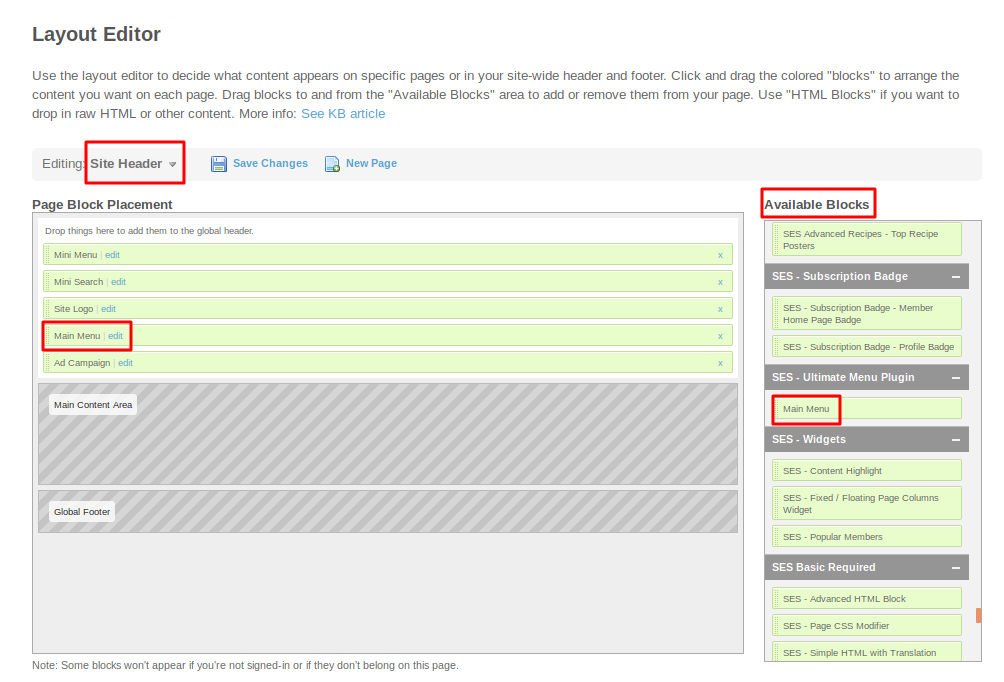
Layout Editor is the only place for our SES Products where you can place various widgets for your pages and configure those widgets according to your requirement as well.
As this plugin contain only one widget because it work upon navigation menu. So you have to place the widget “Main Menu” of Ultimate Menu Plugin selected from the “Available Blocks” on the main “Site Header” page and you can see the changes.
Great! You have completed the installation and setup of this plugin now and you are able to change menu of your choice.
Installation of this plugin is very easy, but if you still need our expert to install this plugin for you, then you can purchase the service from here:
https://www.socialnetworking.solutions/social-engine/socialenginesolutions-plugin-installation/
We provide extremely cost-effective development, designing, customization, hosting and marketing without compromising on quality. We have strong domain experience in SocialEngine, Zend Framework, Mobile Apps, Web designing, E-Commerce, Application development and Product R&D – Making us ideally suited for outsourcing your IT needs!