Still not found answer to your query, contact our support team at
1,378 views
A dashboard, in website administration, is typically the index page of the control panel for a website's content management system. A well-designed dashboard can save huge amounts of time, helping people to quickly identify the data that matters. From the Dashboard the users can drill down to get more information about a particular piece of data.
Custom Dashboard Plugin is one of the most helpful tool which let your users to navigate from one page to the desired one very easily. It comprises of Main Categories on the basis of which users can create multiple Sub-Links in them according to their requirement.
Please read more about this Plugin here: Custom Dashboard Plugin
Watch demo here: https://demo.socialnetworking.solutions/ (Log in with any demo User)
This tutorial will walk you through steps you need to follow to install the Custom Dashboard Plugin on your website.
** This tutorial assumes that you are already logged in to the Admin Panel.
Installation and Setup of this plugin is very easy, but if you still need our expert to install this plugin for you, then you can purchase the service from here: https://www.socialnetworking.solutions/social-engine/socialenginesolutions-plugin-installation/
Video Tutorial: With the written tutorial, we have created a video which will help you to setup and configure this plugin easily. Watch the below video:
Steps to Install & Setup Custom Dashboard Plugin
In the Main menu, click on the tab Manage and select “Packages & Plugins”.

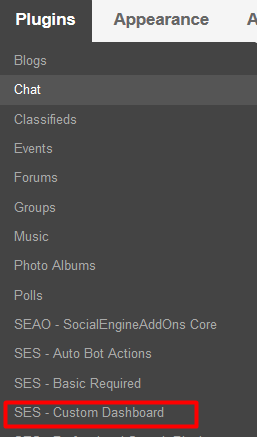
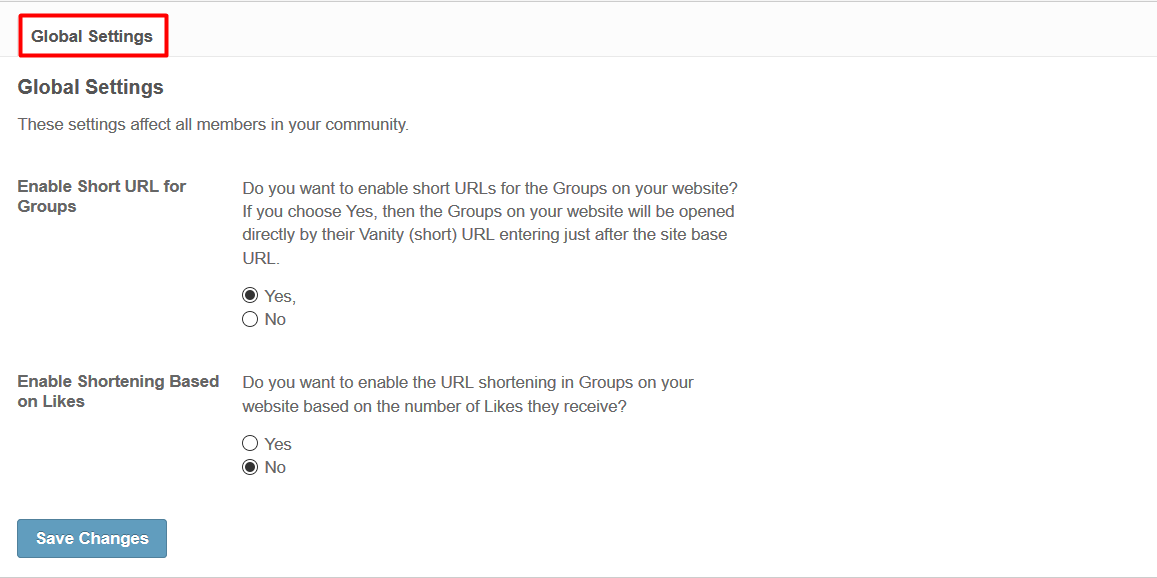
Activate the plugin from Global Settings section of this plugin by entering the appropriate License Key.
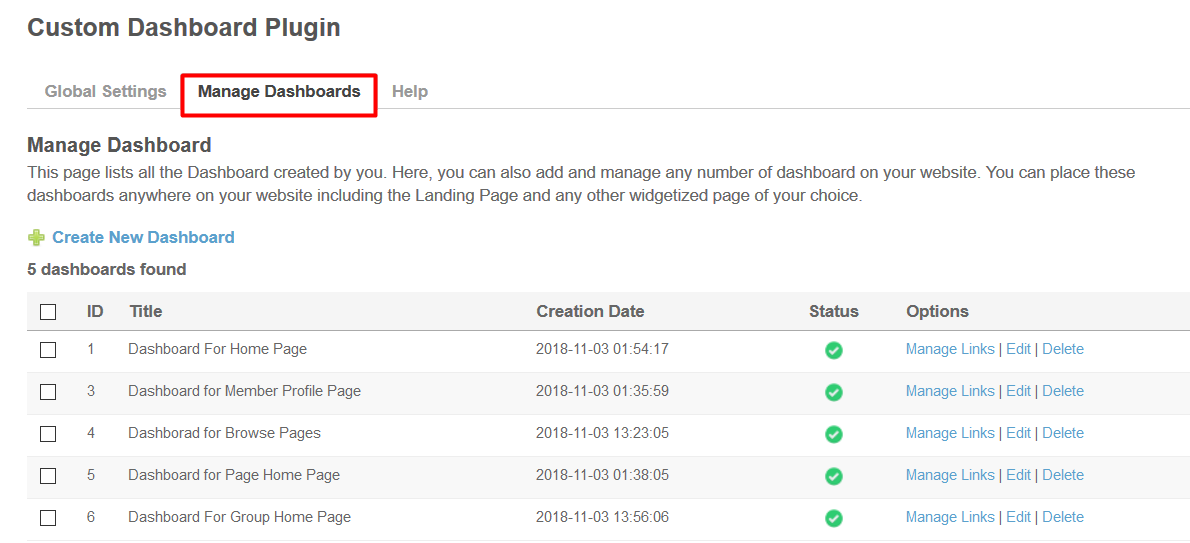
This section lists all the Dashboards created by you. Here, you can also add and manage any number of dashboard on your website. You can place these dashboards anywhere on your website including the Landing Page and any other widgetized page of your choice.
For getting any help regarding this Plugin, you can go through this section of the plugin. It contain useful FAQs and if you want any kind of support then you can also file ticket anytime.
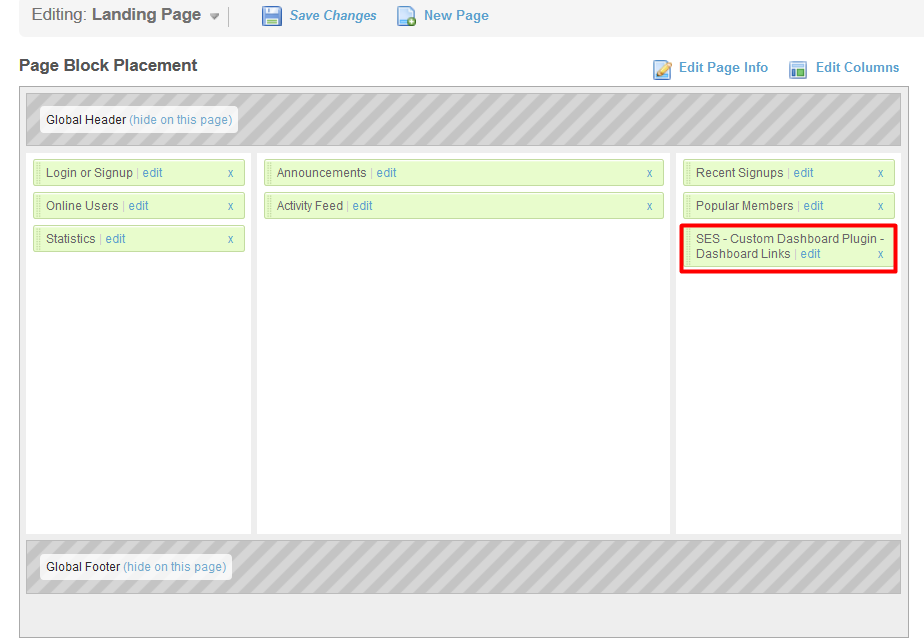
Layout Editor is the only place for our SES Products where you can place various widgets for your pages and configure those widgets according to your requirement as well.
You can place widget “Custom Dashboard Plugin - Dashboard Links” at any page of your choice including the Landing Page also. From this widget you can choose the Particular Dashboard for the specific page from the list of the Dashboards which you have created from the Admin Panel of this Plugin.
Great! You have completed the installation and setup of this plugin now and you are able to create Dashboard for your website.
Installation of this plugin is very easy, but if you still need our expert to install this plugin for you, then you can purchase the service from here: https://www.socialnetworking.solutions/social-engine/socialenginesolutions-plugin-installation/
We provide extremely cost-effective development, designing, customization, hosting and marketing without compromising on quality. We have strong domain experience in SocialEngine, Zend Framework, Mobile Apps, Web designing, E-Commerce, Application development and Product R&D – Making us ideally suited for outsourcing your IT needs!