Still not found answer to your query, contact our support team at
Groups are very useful when Social engagement and user interaction are needed on a website. Using Groups users can easily create their interest based communities on a website. This Group Communities Plugin comes with all the functionalities which are required to have robust and feature rich groups on a SocialEngine based website.
With rich Global Settings, Member Level Settings, Group Creation Settings, Group Roles, Categories & Custom Fields, Configurable Group Dashboard, Manage Groups, Albums, multiple Widgets, Widgetized Pages, 7 attractive views, Pinboard, etc you can easily and quickly create robust group communities on your website. This plugin also has SEO settings to be configured for each group which will enhance the search capabilities of your website in various search engines.
With the Advanced News & Activity Feeds Plugin users can Buy & Sell in the groups on your website which enables group owners and members to post Buy & Sell posts in their groups. Group Owners can enable / disable this feature individually in their Groups. To attract more users to your site, this feature can be an added advantage.
Please read more about this Plugin here: Group Communities Plugin
Watch demo here: https://demo.socialnetworking.solutions/group-communities
This tutorial will walk you through steps you need to follow to install the Group Communities Plugin on your website.
** This tutorial assumes that you are already logged in to the Admin Panel.
Installation and Setup of this plugin is very easy, but if you still need our expert to install this plugin for you, then you can purchase the service from here: https://www.socialnetworking.solutions/social-engine/socialenginesolutions-plugin-installation/
Video Tutorial: With the written tutorial, we have created a video which will help you to setup and configure this plugin easily. Watch the below video:
In the Main menu, click on the tab Manage and select “Packages & Plugins”.

3. After the successful installation of plugin as in Step 2 above, go to “Plugins” dropdown in the Main menu and select “SES - Group Communities”.

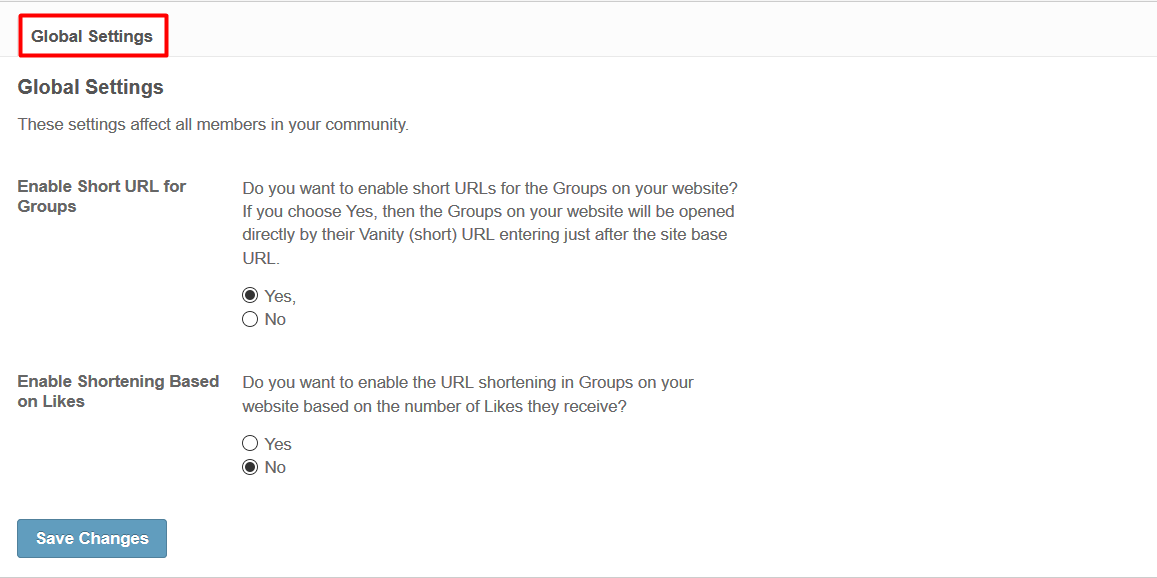
Activate the plugin from Global Settings section of this plugin.
These Settings affect all members in your community by providing the basic functionalities to them like Share, Follow, Join Groups, etc. You can also configure various other Settings for this Plugin.
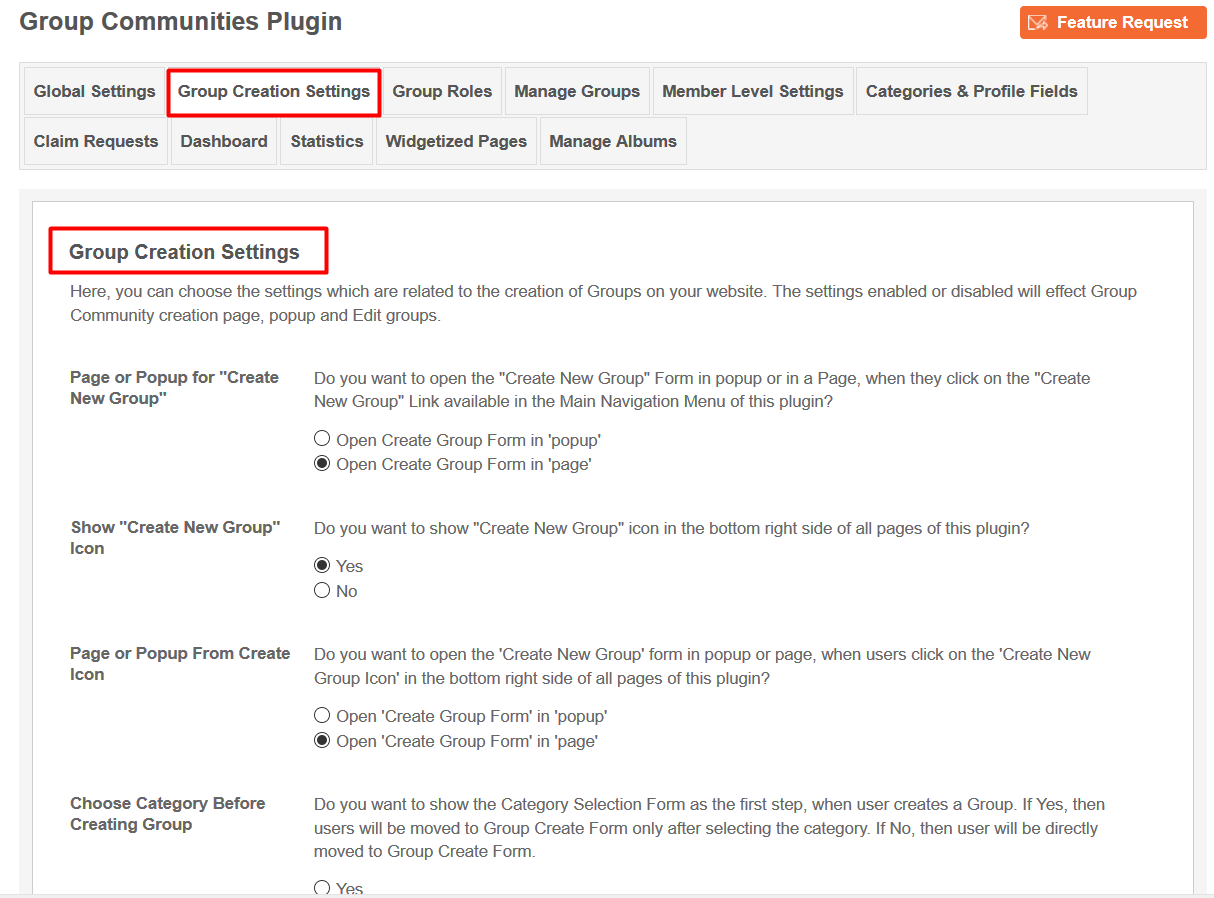
Under Group Creation Settings, You can select and configure various settings which are related to the Creation of groups on your Website.
You can also modify these settings according to your requirement like if you want to enable them or not.
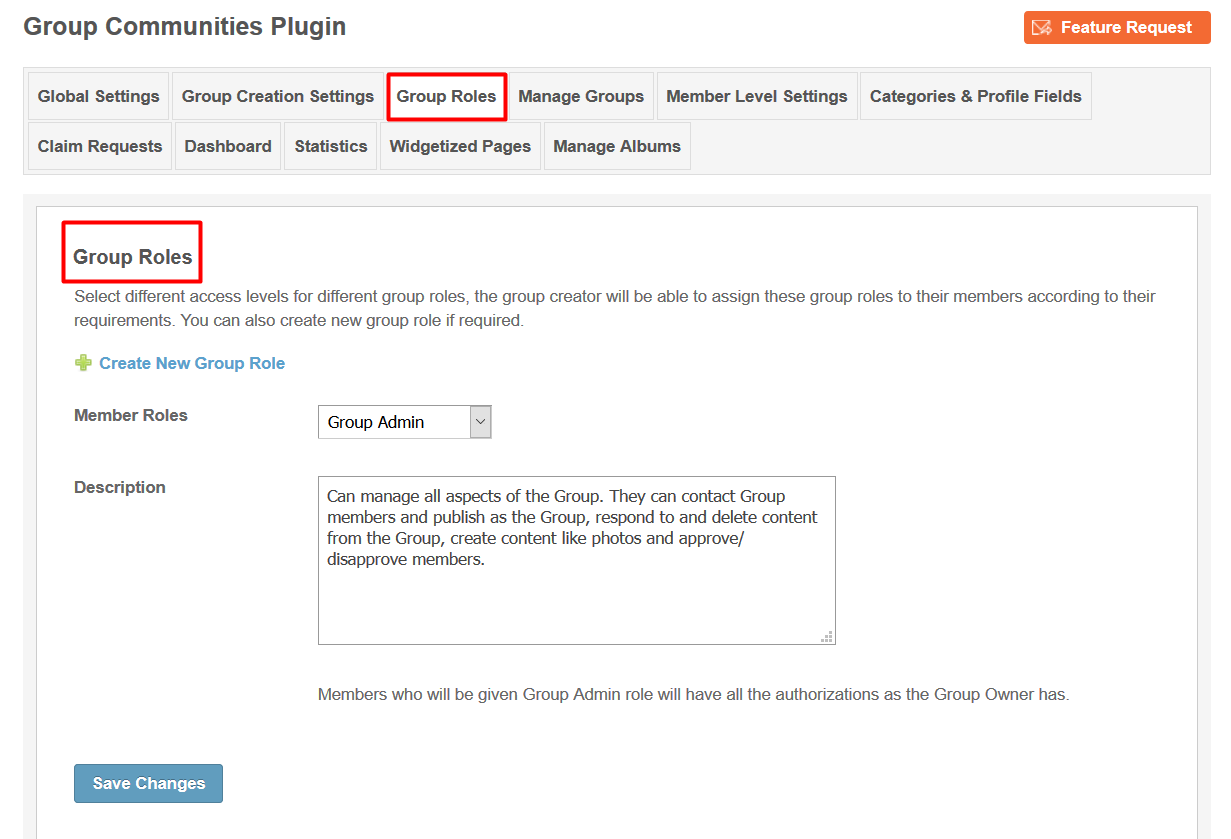
Under this section you can Select different access levels for different Group roles. You can also Create and Manage new Group Role if required and alter the default Roles.
Also various other rights are mentioned which you can give to a particular member level while giving group roles.
This page lists all the groups created by your users on your Website. If you want to see the details such as creation date, Title, Owner of the group, then you can also use this section.
You can use this page to monitor all the groups and delete offensive material if necessary.You can also use search filter here for finding any specific group among all the groups.
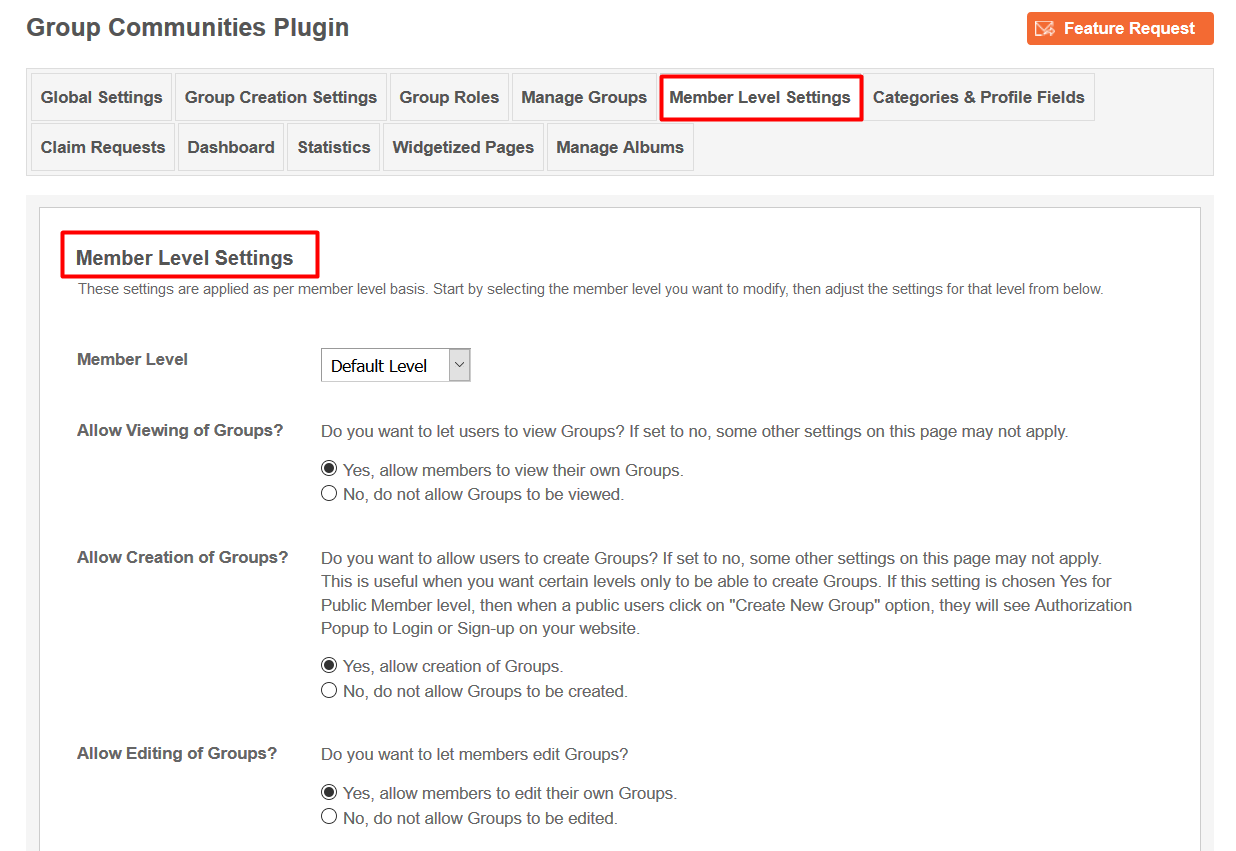
8. Member level Settings:
These Settings are applied as per member level basis. You can select the Member level and configure them as per your requirement, then adjust and modify those Settings for that level too.
With the help of these Settings you can easily provide certain privileges to one member level than others i.e; functionalities provided to one member level are not provided for other one.
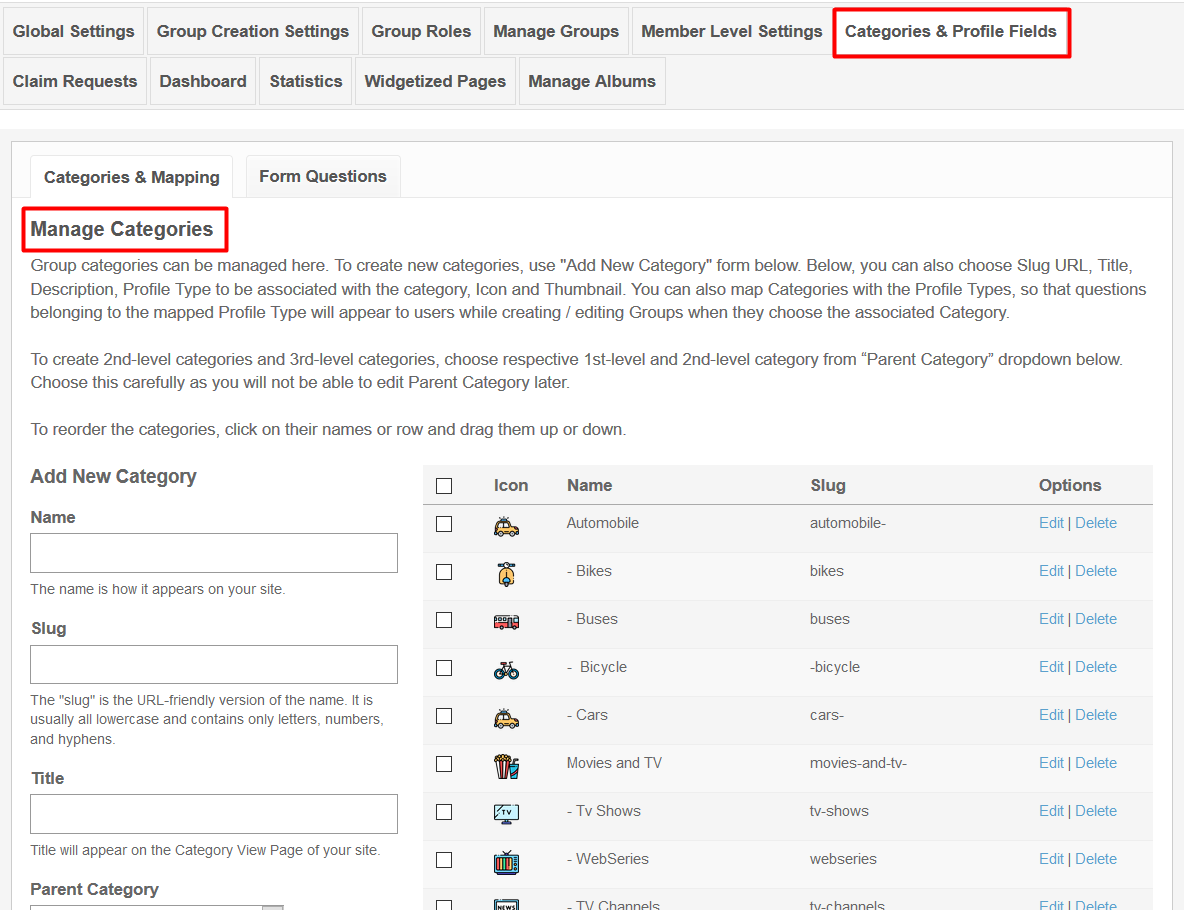
9. Categories and Profile Fields:
Group Categories can be managed under this section. You can also create new Categories for your groups and can do modifications with them. If you want to upload icons and Banners for the Categories which you have created then you can do that also.
Also you can create Sub - Categories under the Parent Categories also for your Groups.
10. Claim Requests:
This page lists all the Claim Requests your users have made for the Groups on your website. You can use this page to monitor these requests and approve / decline them. You can claim any Group if you find anything not relative or offensive.

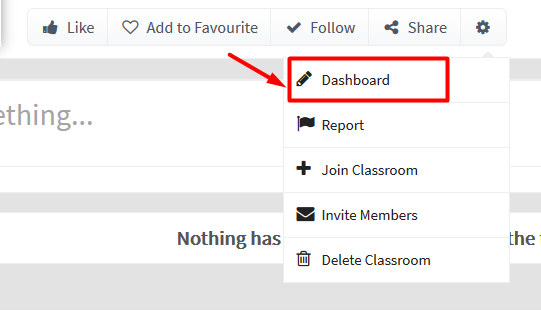
11. Dashboard:
Under this section, you can manage the Group Dashboard menu items and Edit their Titles. You can also enable / disable any menu according to your requirement.
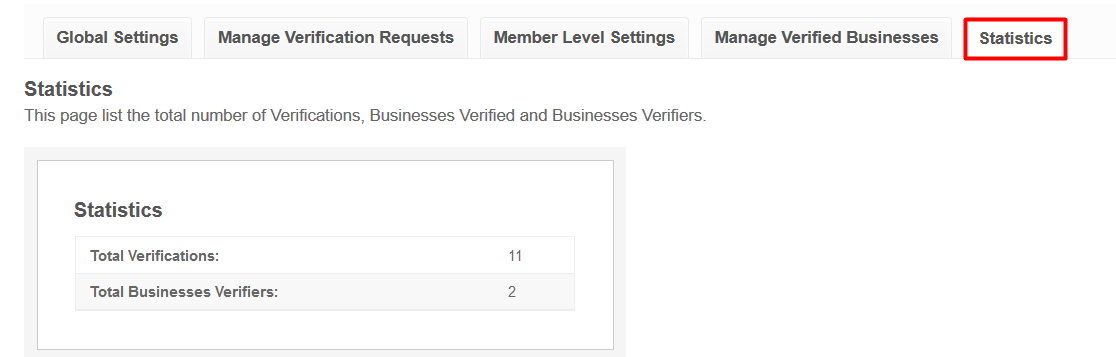
12. Statistics:
It will Create the Valuable Statistics for the groups you have created on your site.
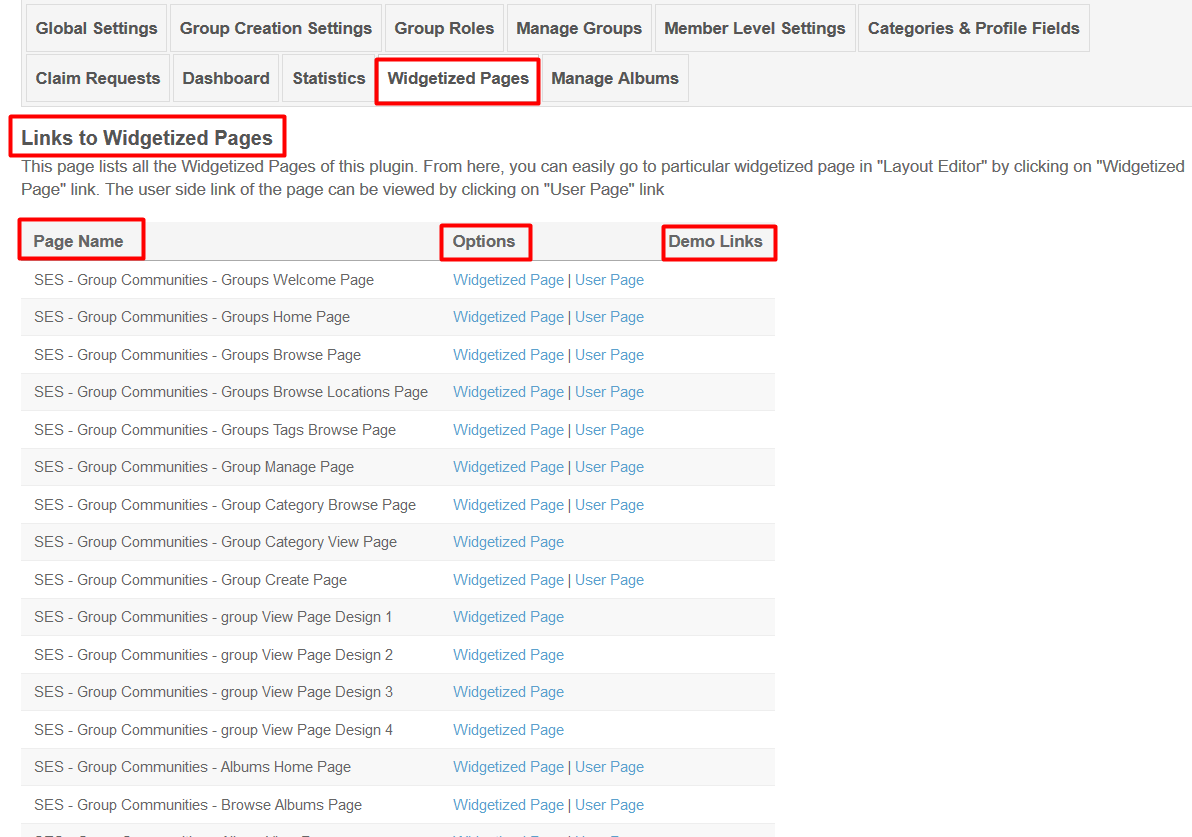
This page lists all the required Widgetized Pages which are present under Layout Editor for this plugin.
With the help of this section you can go to either Widgetized page or User page directly by clicking on their links respectively.
This section will display the list of all the Albums created by you and other members under this plugin. You can View, Manage, Delete those Albums as well. You can also mark those Albums as featured or sponsored.
It also displays the total number of Photos added in the particular Album.
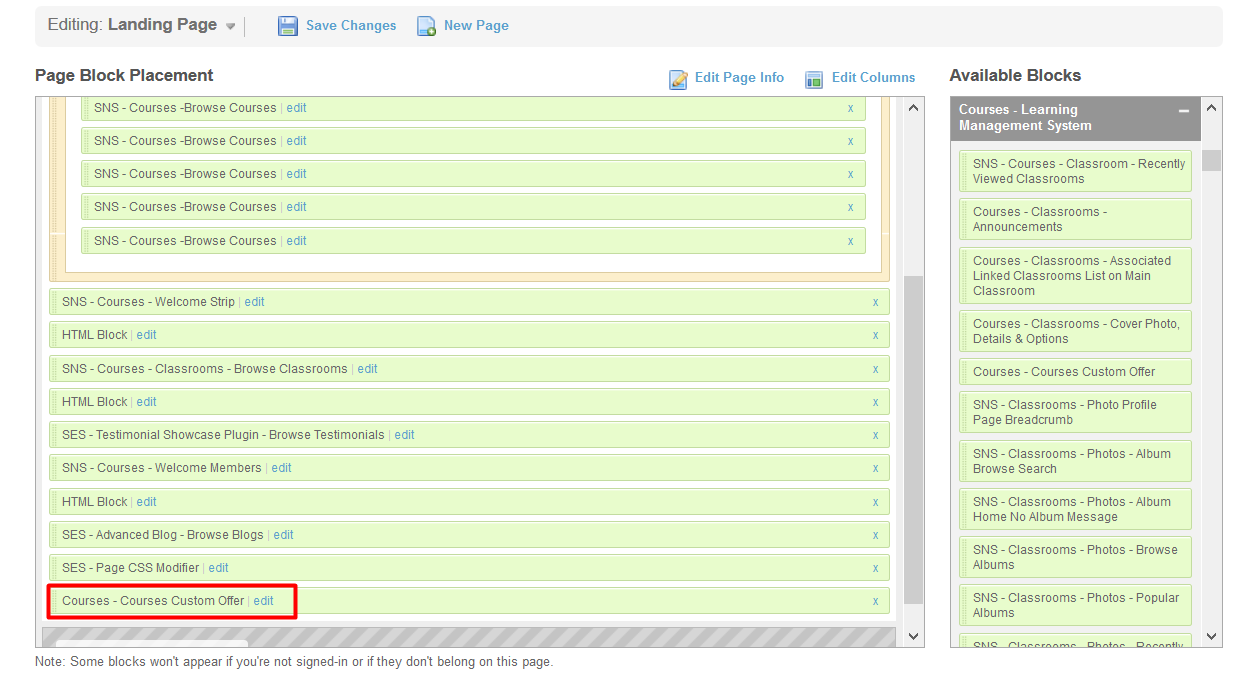
Layout Editor is the only place for our SES Products where you can place various widgets for your pages and configure those widgets according to your requirement as well.
There are certain pages for this plugin which are categorized as “SES - Group Communities - PAGE_NAME” in which you can place any widget that are also categorized as “SES - Group Communities - WIDGET_NAME” format.
Great! You have completed the installation and setup of this plugin now and you are able to create groups of your choice.
Installation of this plugin is very easy, but if you still need our expert to install this plugin for you, then you can purchase the service from here: https://www.socialnetworking.solutions/social-engine/socialenginesolutions-plugin-installation/